Tuning servos has always been a frustrating part of CNC builds — especially with older models like the JMC and Delta ASD-M series. But the newer Delta B3 and A3 servos have changed the game completely.
Why servo tuning used to be painful
If you’ve tuned hobby-grade servos before — JMC, Delta ASD-M, or similar — you know the drill. You’re reading parameter tables, guessing at starting values, running motion profiles, watching for overshoot or oscillation, tweaking a gain, running again. It’s the kind of tuning loop where you can easily burn a whole evening and still not be happy with the result.
It’s also a tax on anyone building their first CNC. Servos absolutely beat steppers on dynamic performance, but the tuning overhead has historically been a real argument for sticking with steppers on a first build.
What’s actually different with the Delta B3 / A3
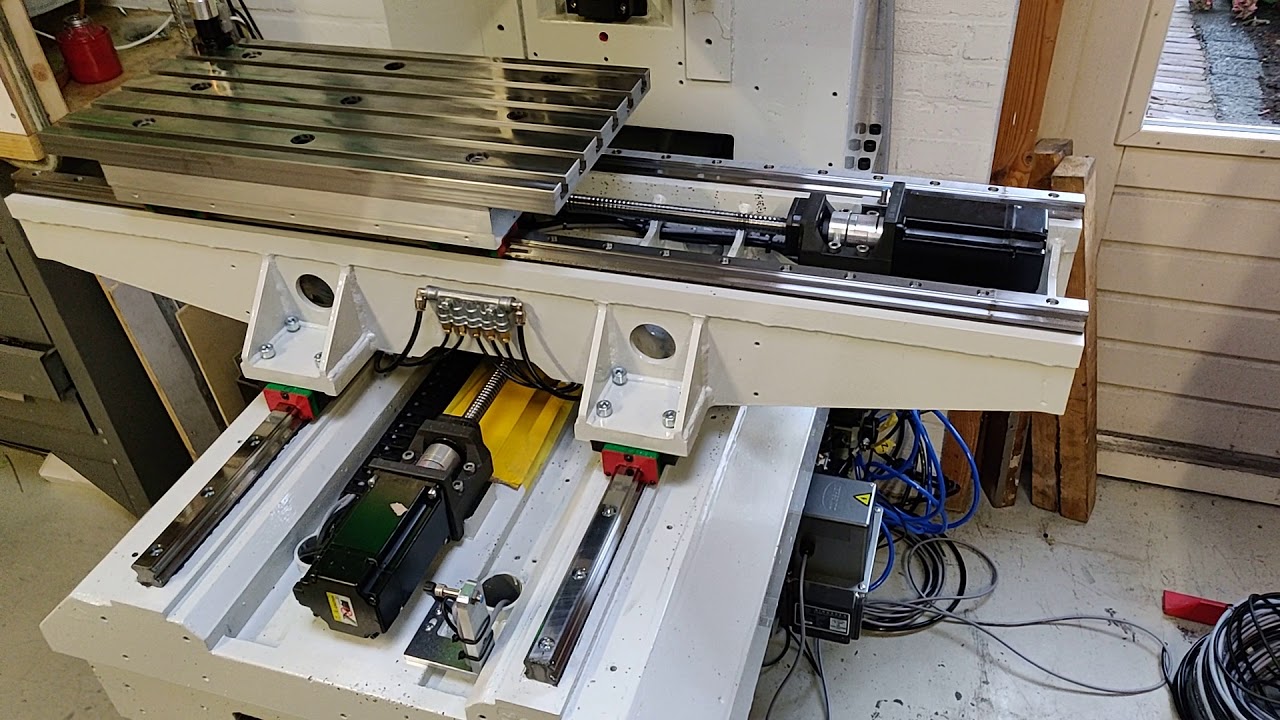
During my MightyMill build, I encountered a Delta B3 servo for the Z axis. Initially apprehensive — based on past experiences with older Delta drives — I was pleasantly surprised to find a streamlined, one-button solution for auto-tuning. The drive runs its own motion profile, characterises the load, and comes back with a working set of gains.
Auto-tuning a Delta B3 / A3 servo
The simplest possible view of the auto-tune procedure on a Delta B3 or A3 servo drive.
-
Mount and wire the motor normally
Mechanically install the servo on the axis and wire the drive as you normally would. Auto-tune characterises the load, so the motor has to be connected to what it will actually be driving.
-
Enable auto-tune on the drive
Enter the drive’s auto-tune mode (one button on the B3 / A3 series). This puts the drive in a state where it can command its own motion profile for characterisation.
-
Let the drive run its characterisation move
The drive runs a short motion profile back and forth to measure inertia, friction, and response. Keep the axis clear and watch for anything binding.
-
Accept the resulting gains
The drive returns a set of tuning parameters that are ready to use. On the B3 / A3 this was good enough out of the box for my Z axis — no manual loop tuning needed.
FAQ
Building a CNC? Join the Discord for help with servo tuning and more.