The Mightymill is the name I gave my professional DIY cnc router build that I’m working on. It features, BT30 ATC CNC spindle , Durfill polymer concrete filling and more.
My build has finally begun and in this post I will take you on the building journey. Make sure you have read part 1 here , part 2 here , part 3 here
Lifting it up in the shed
It’s been some time since my last update. The machine is complete, but it’s worth noting that I had to construct a shed specifically to accommodate it; the machine proved too large for the existing brick structure.
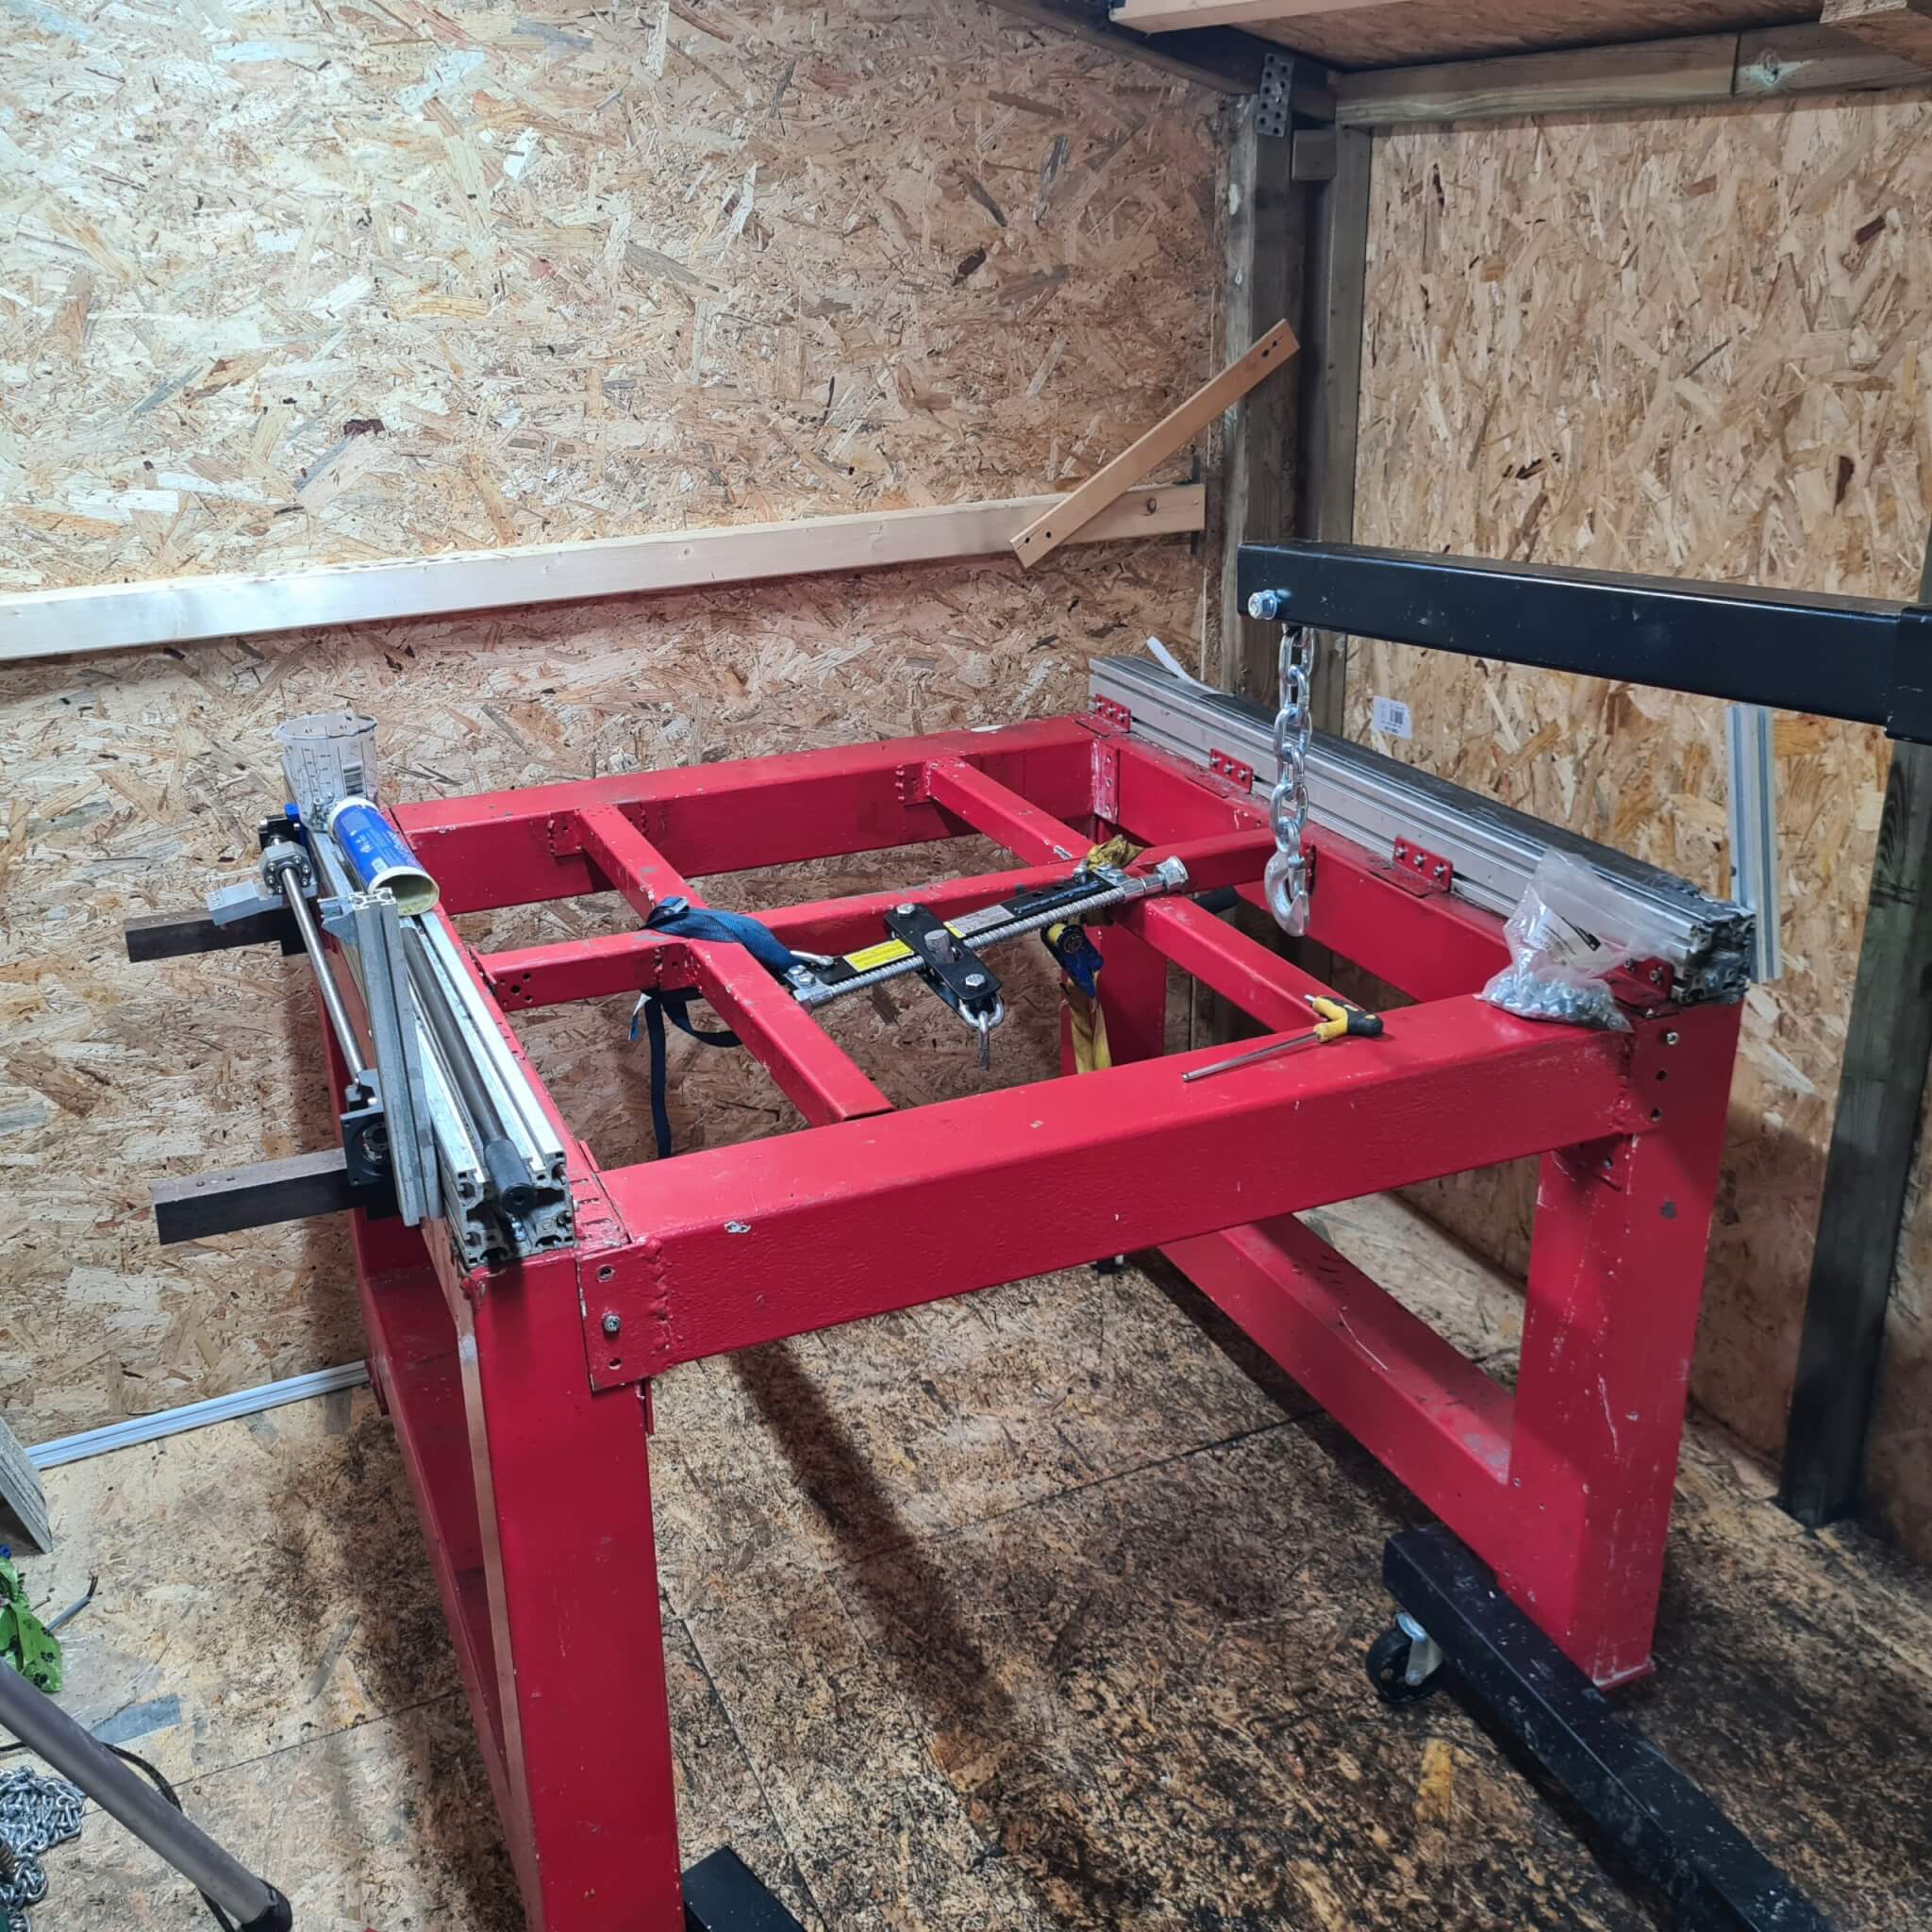
I bought a garage “engine block” crane to lift the approximately 350kg structure in the shed. You really notice that using the right tools in a situation likes this makes huge amount of difference.
Replication method at work
After moving and leveling the machine I had to make the surface of the aluminium extrusion flat in order to mount the rails to it.
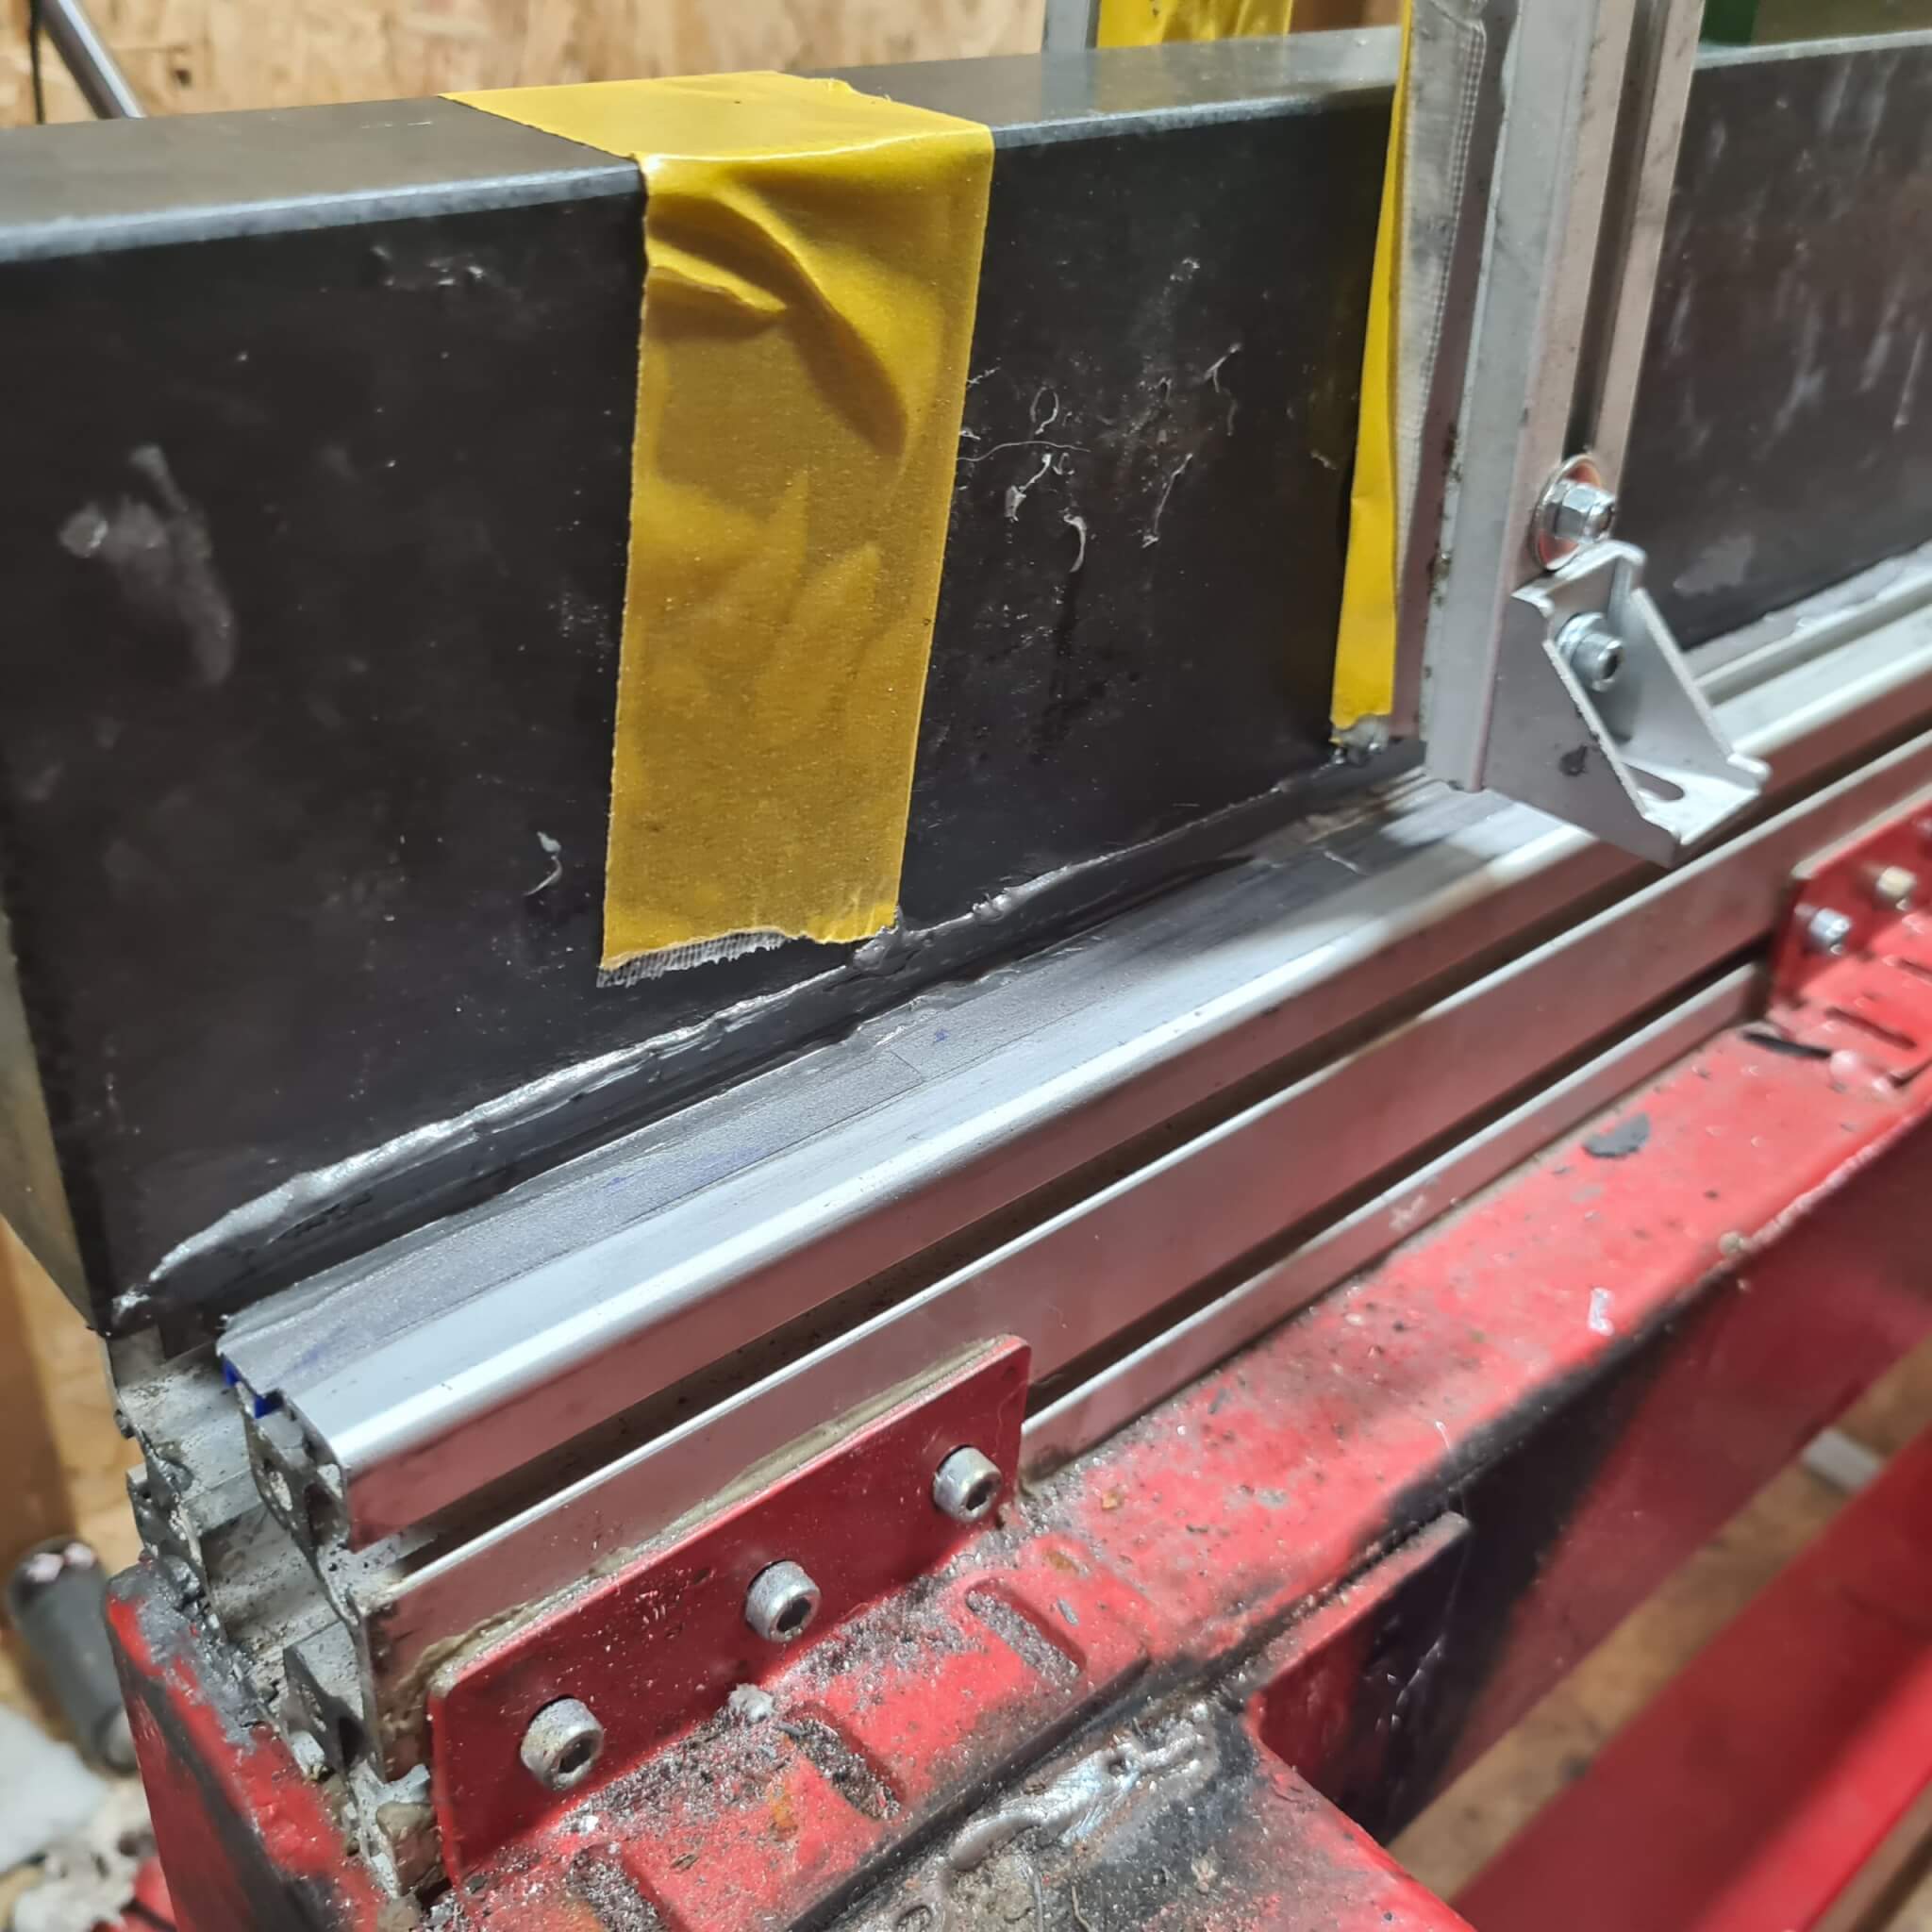
It is a bit of a messy situation but hey! it works.
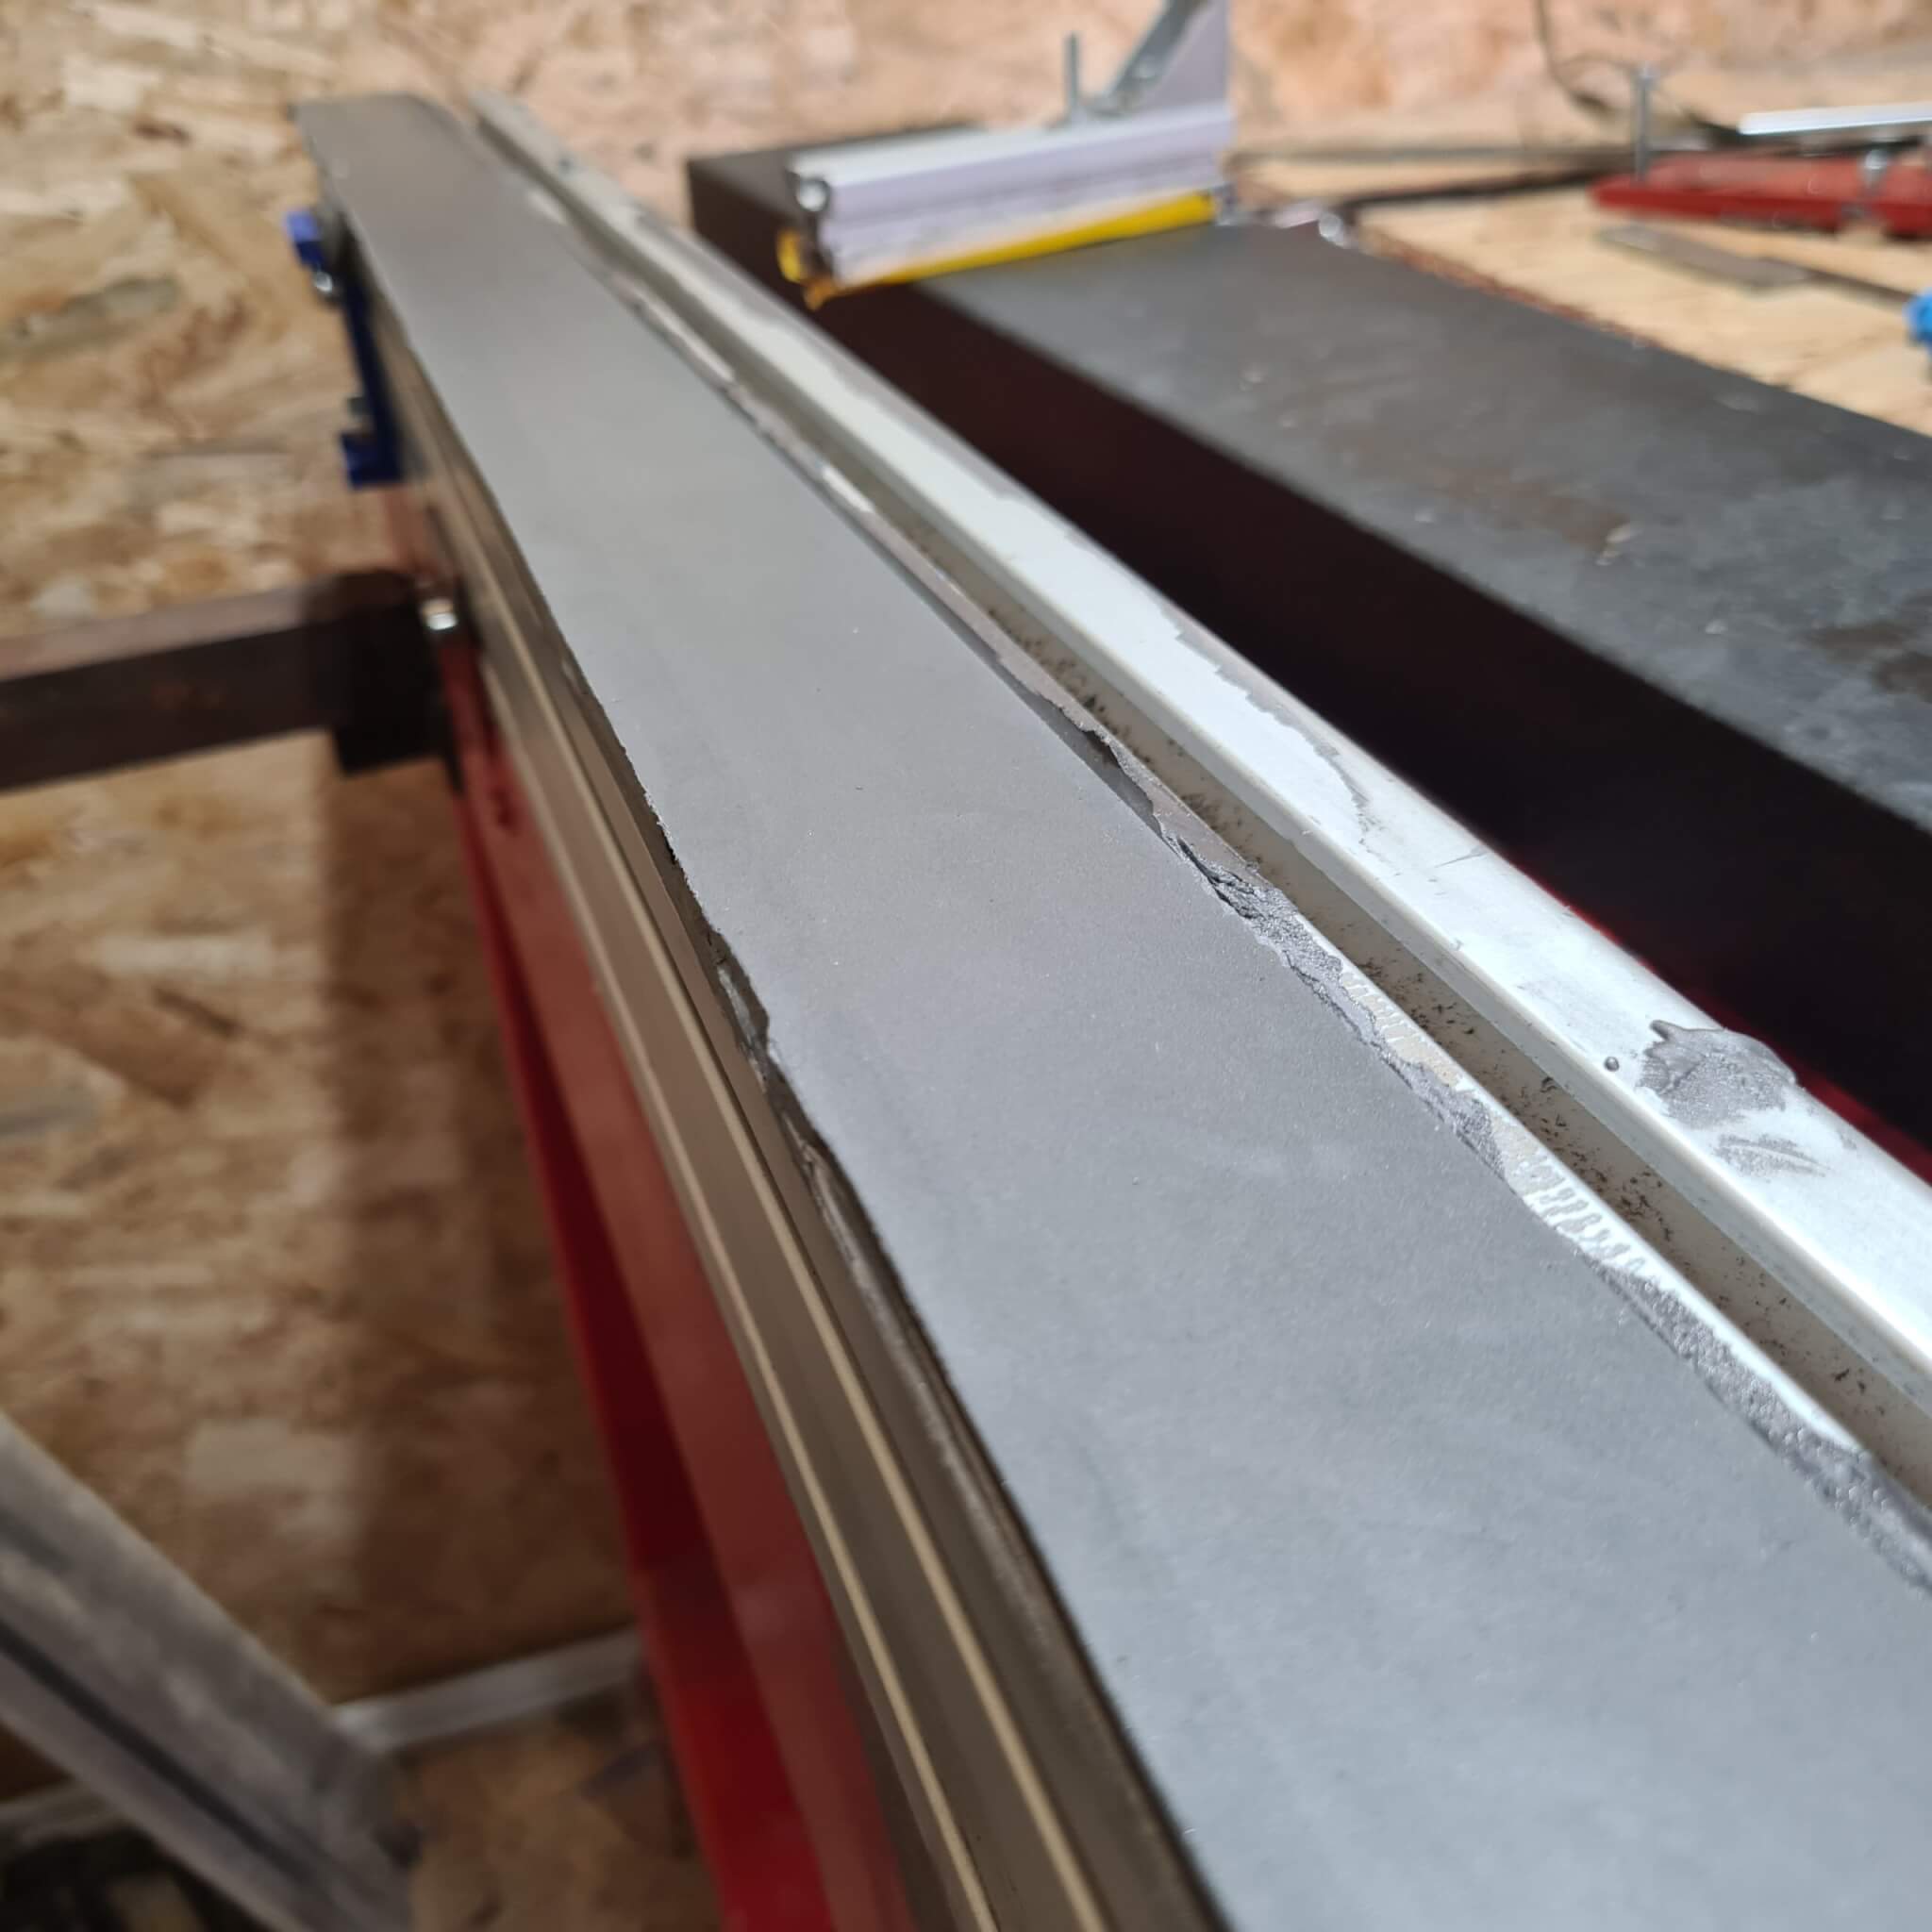
After making the surface flat I cut out the slot with a hot-knife in order to mount my rails to it.
Adjusting the gantry level
I used the metal epoxy “gap filling” method to level the gantry vs the Y1 and Y2 gantry rails:
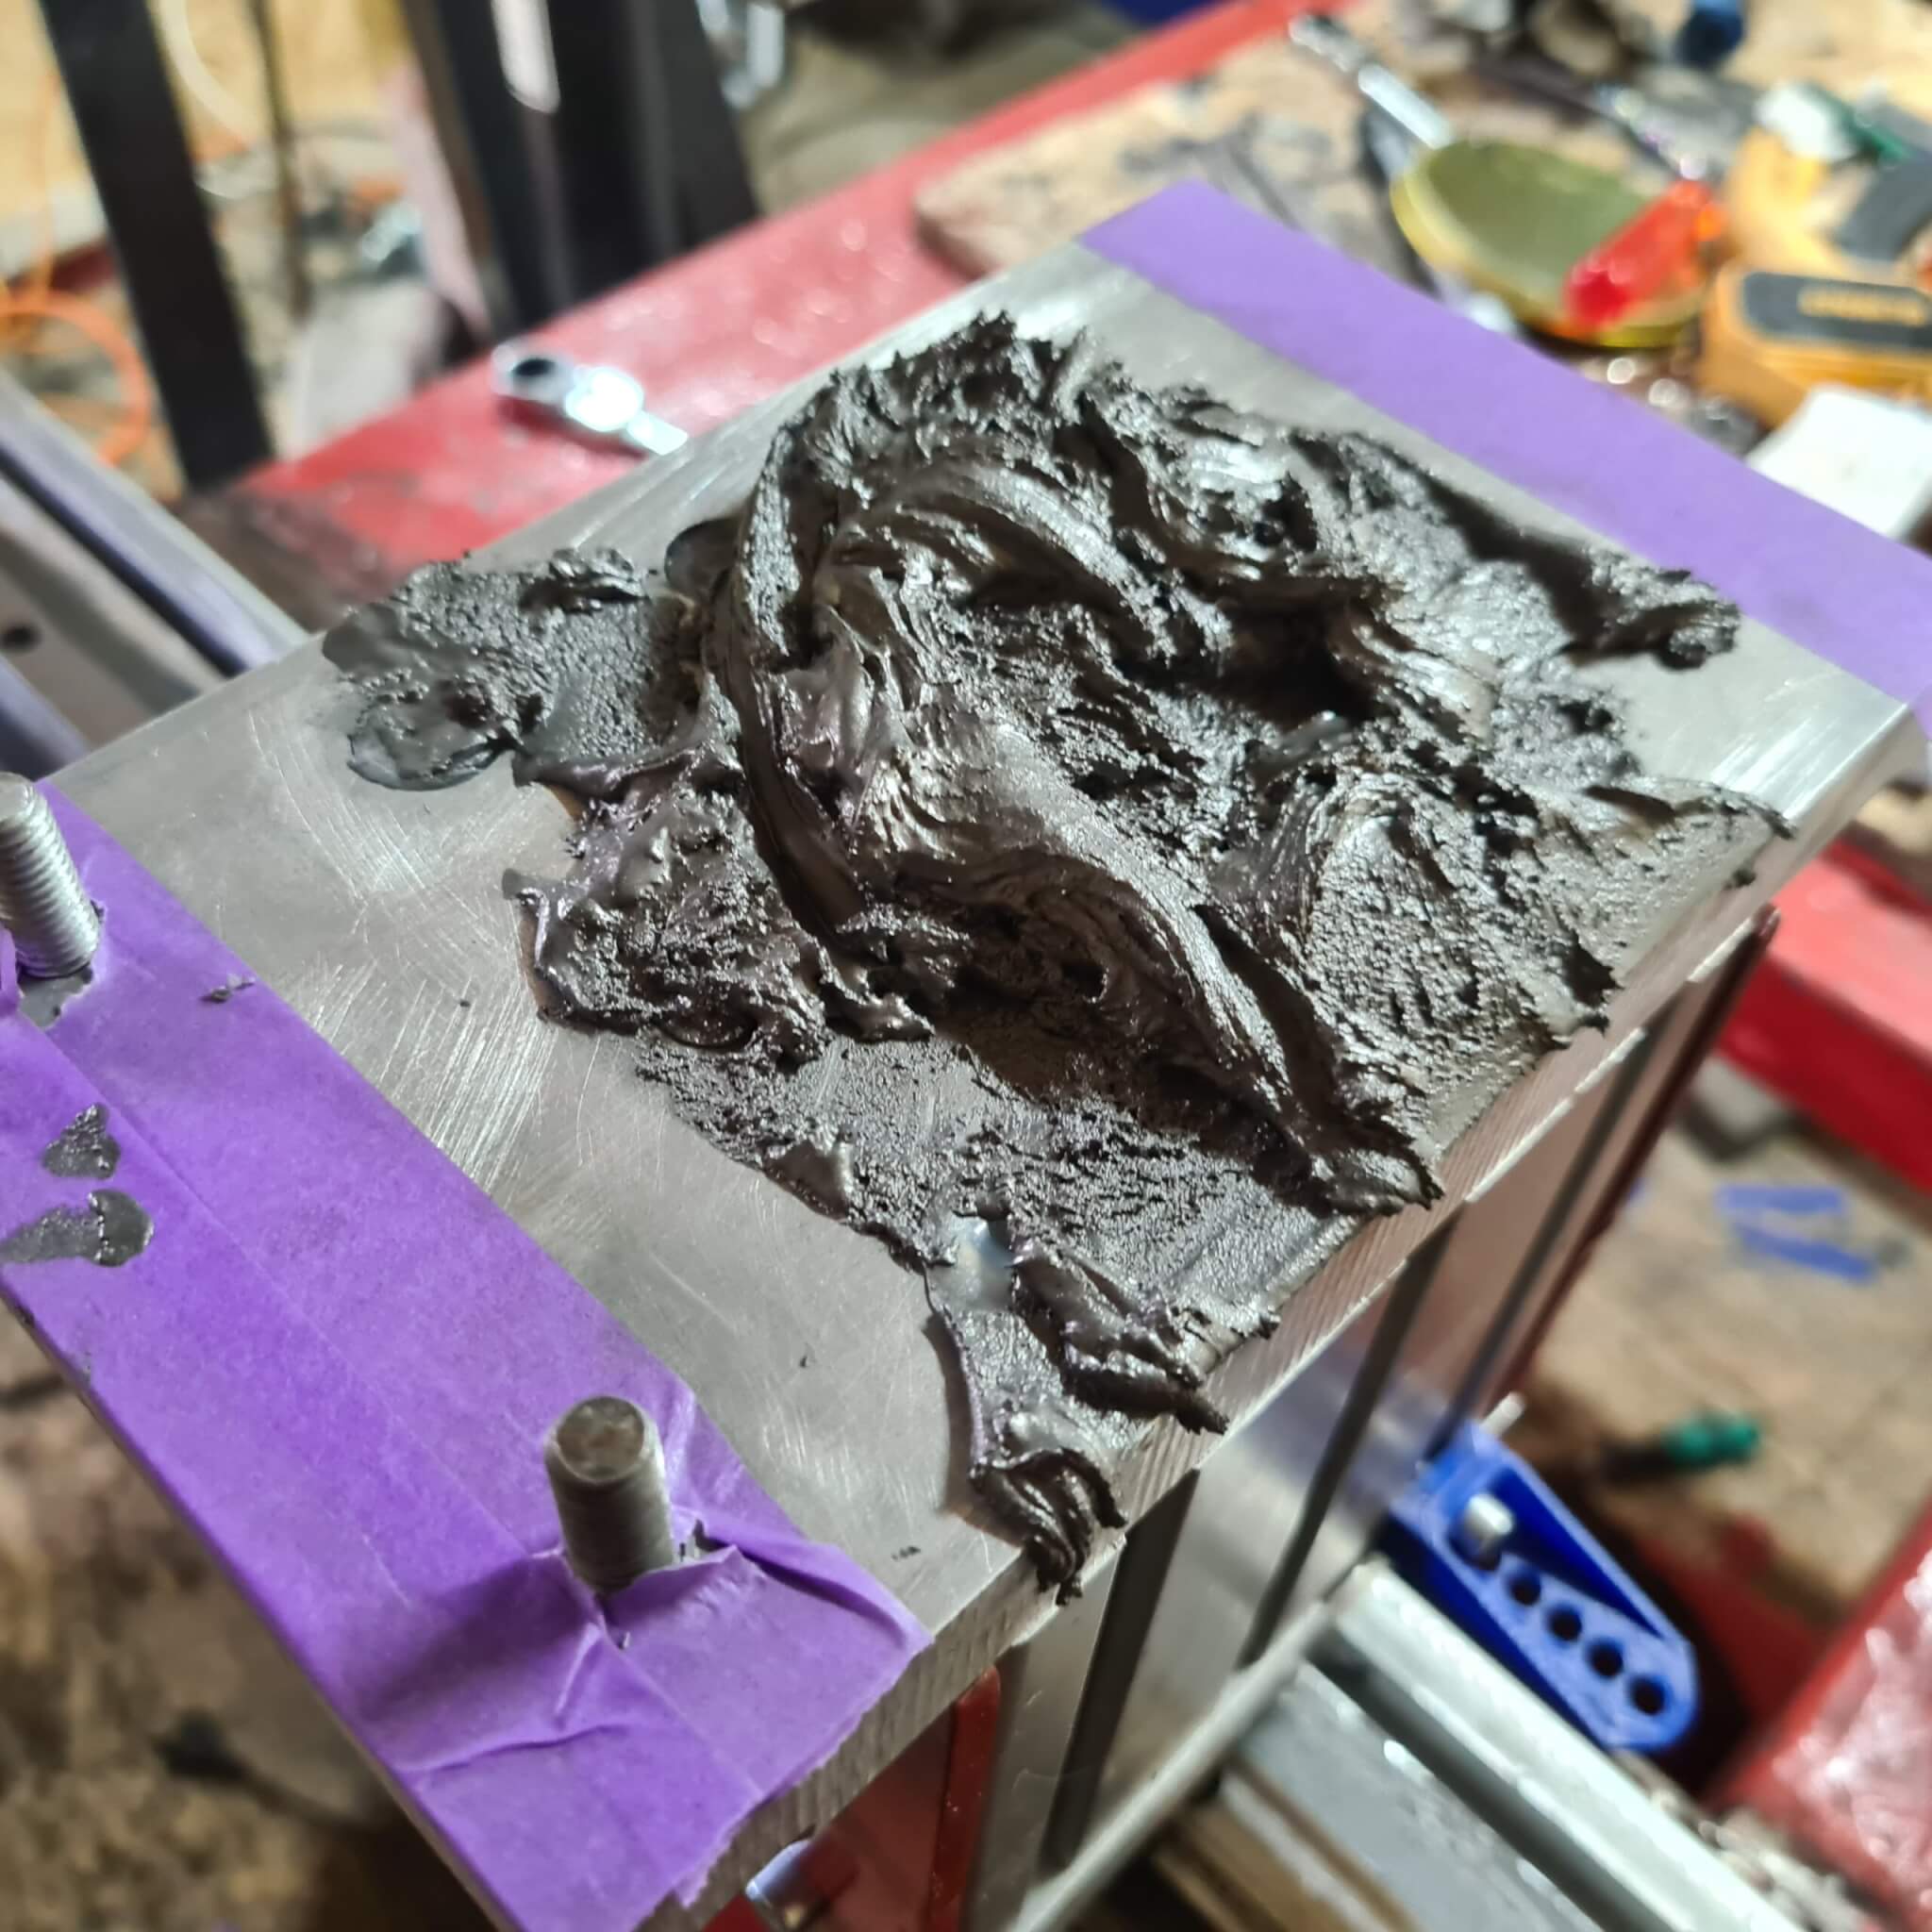
I used Mirror glaze wax release on the gantry to make sure it just fills the gap and does not stick to the gantry extrusion itself. Not this works REALLY well!
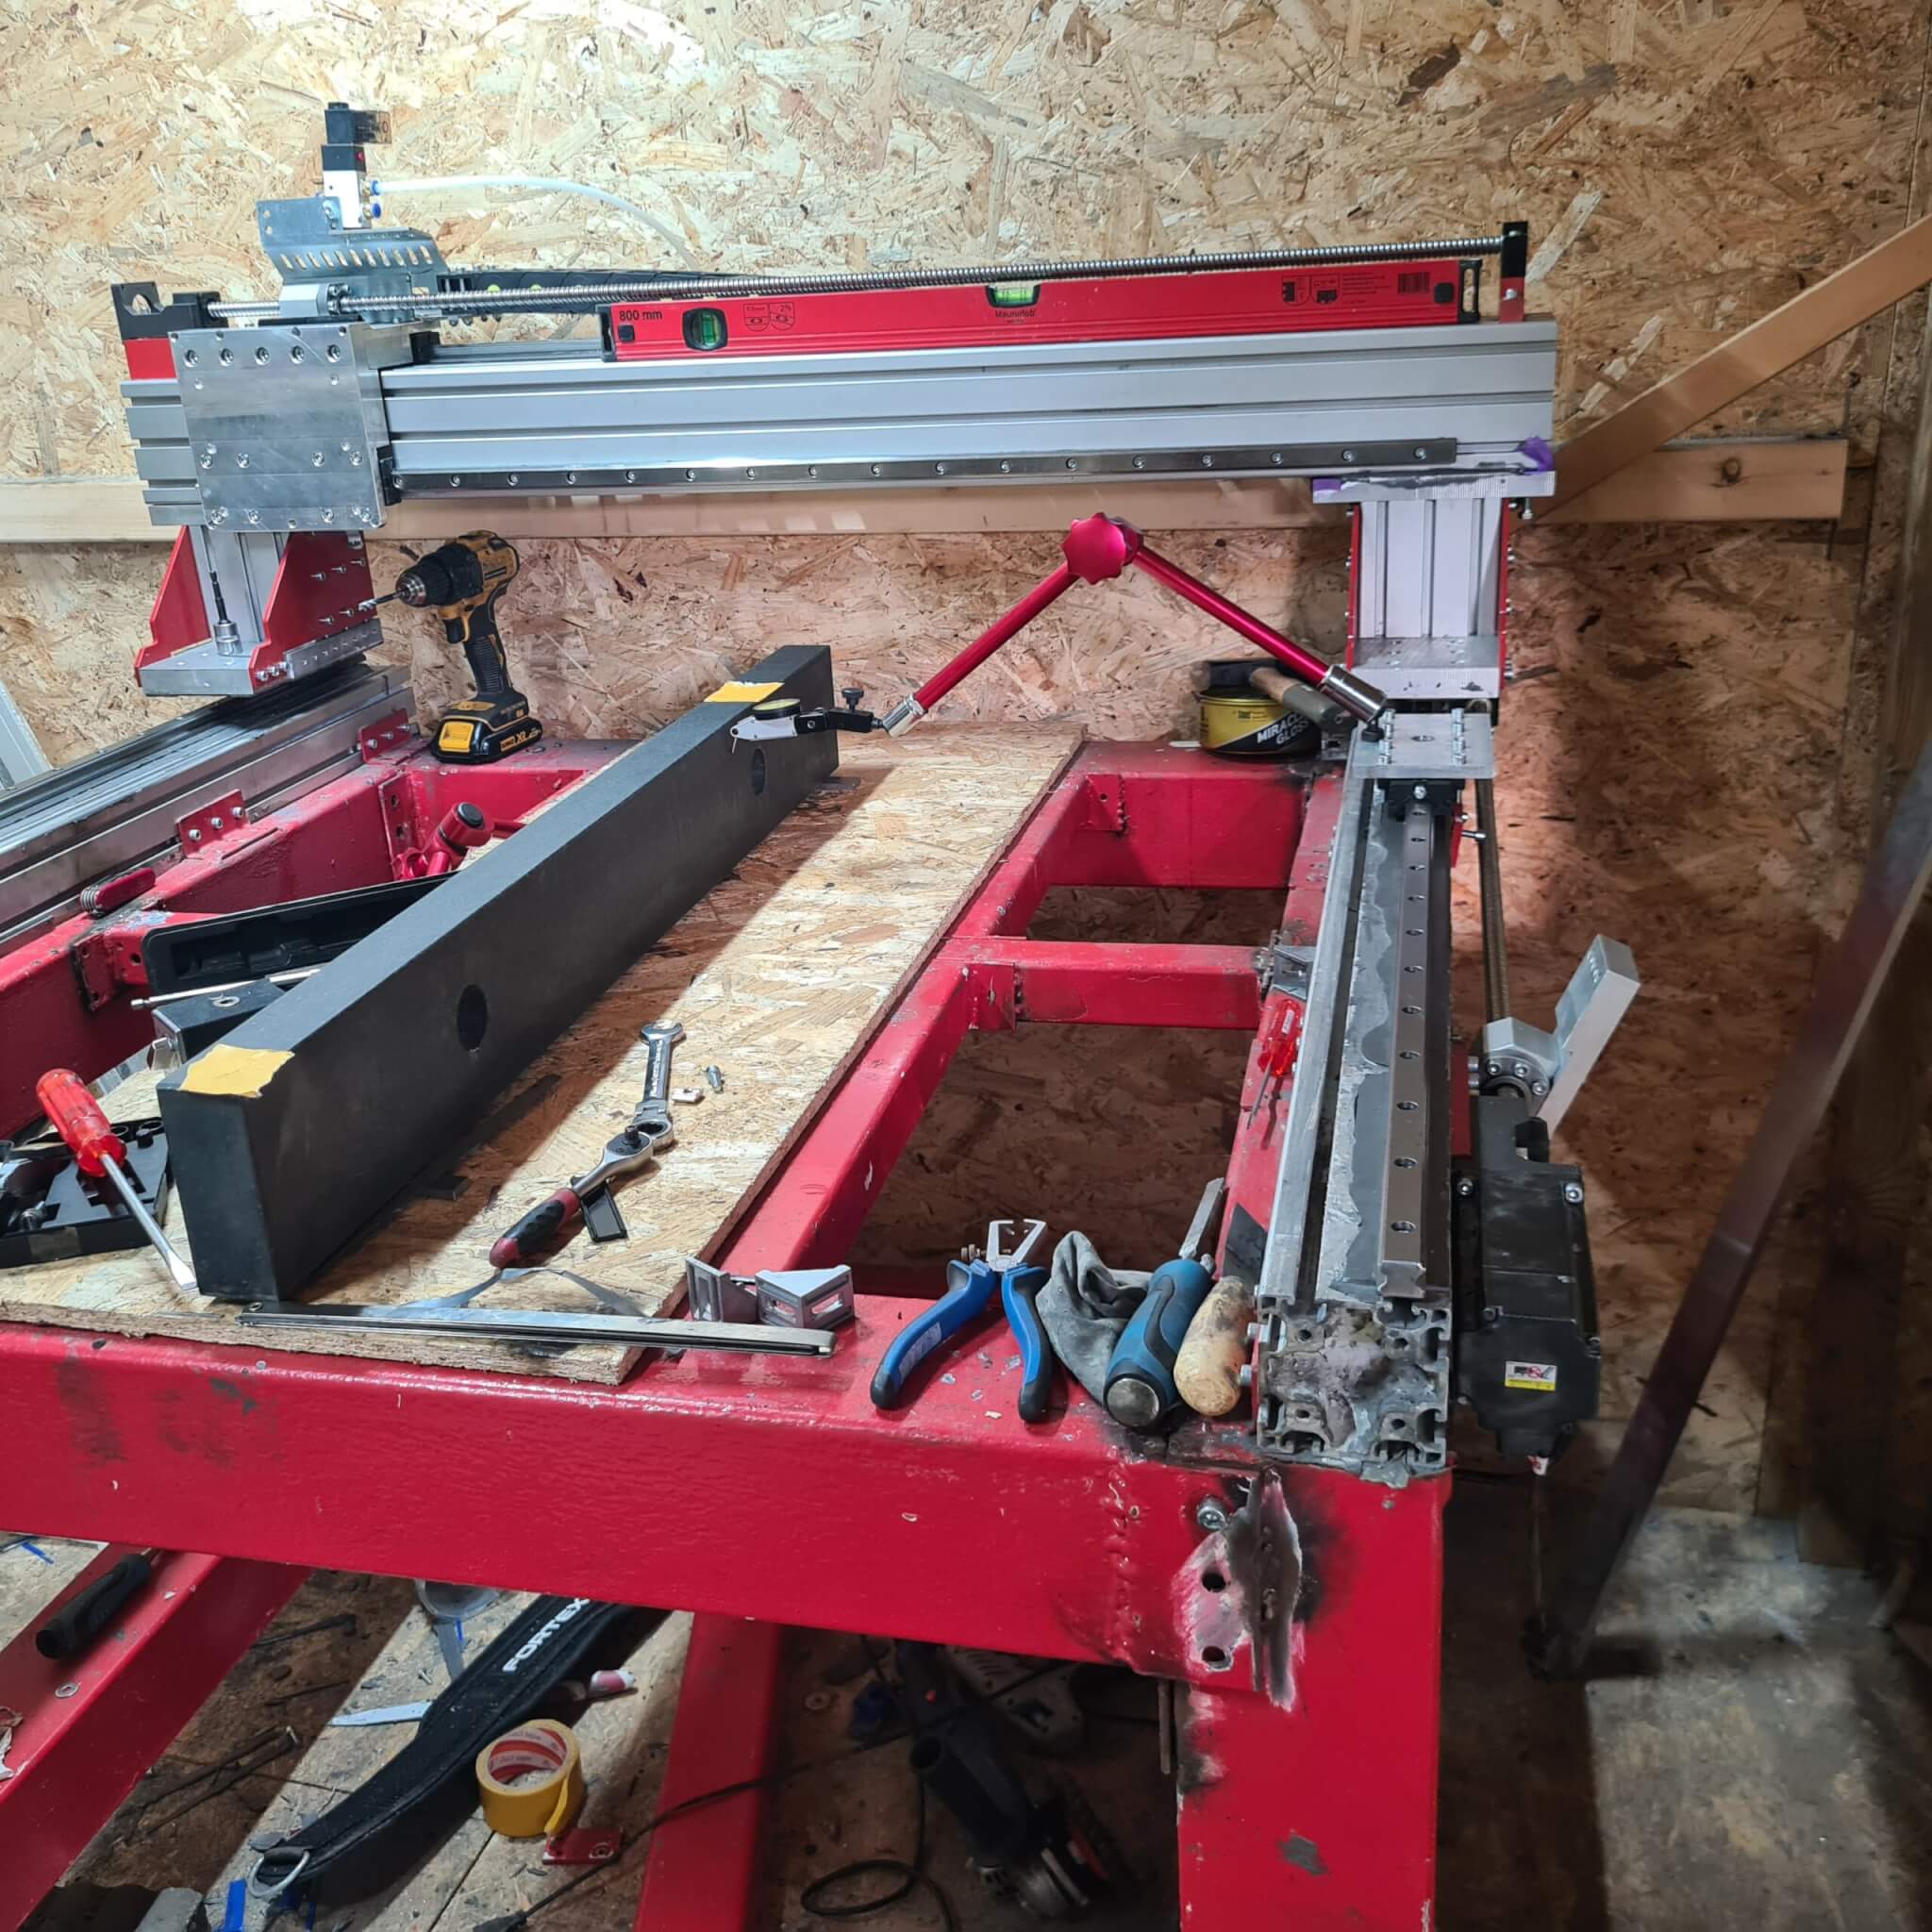
After making sure it is level, I let it cure.
in a Dan Gilbart video I recently learned to make figure 8 motions when doing this. I tried it out and noticed it worked well. I did not actually check it on the surface plate but you notice that the surface is quite flat. Within >=0.0x mm I would estimate. Good enough for this part.
Mirror Glaze
Mirror Glaze Wax release; 16$

Fixing the electronics
I decided to rewire the electronics from scratch. It worked out quite well I must say!
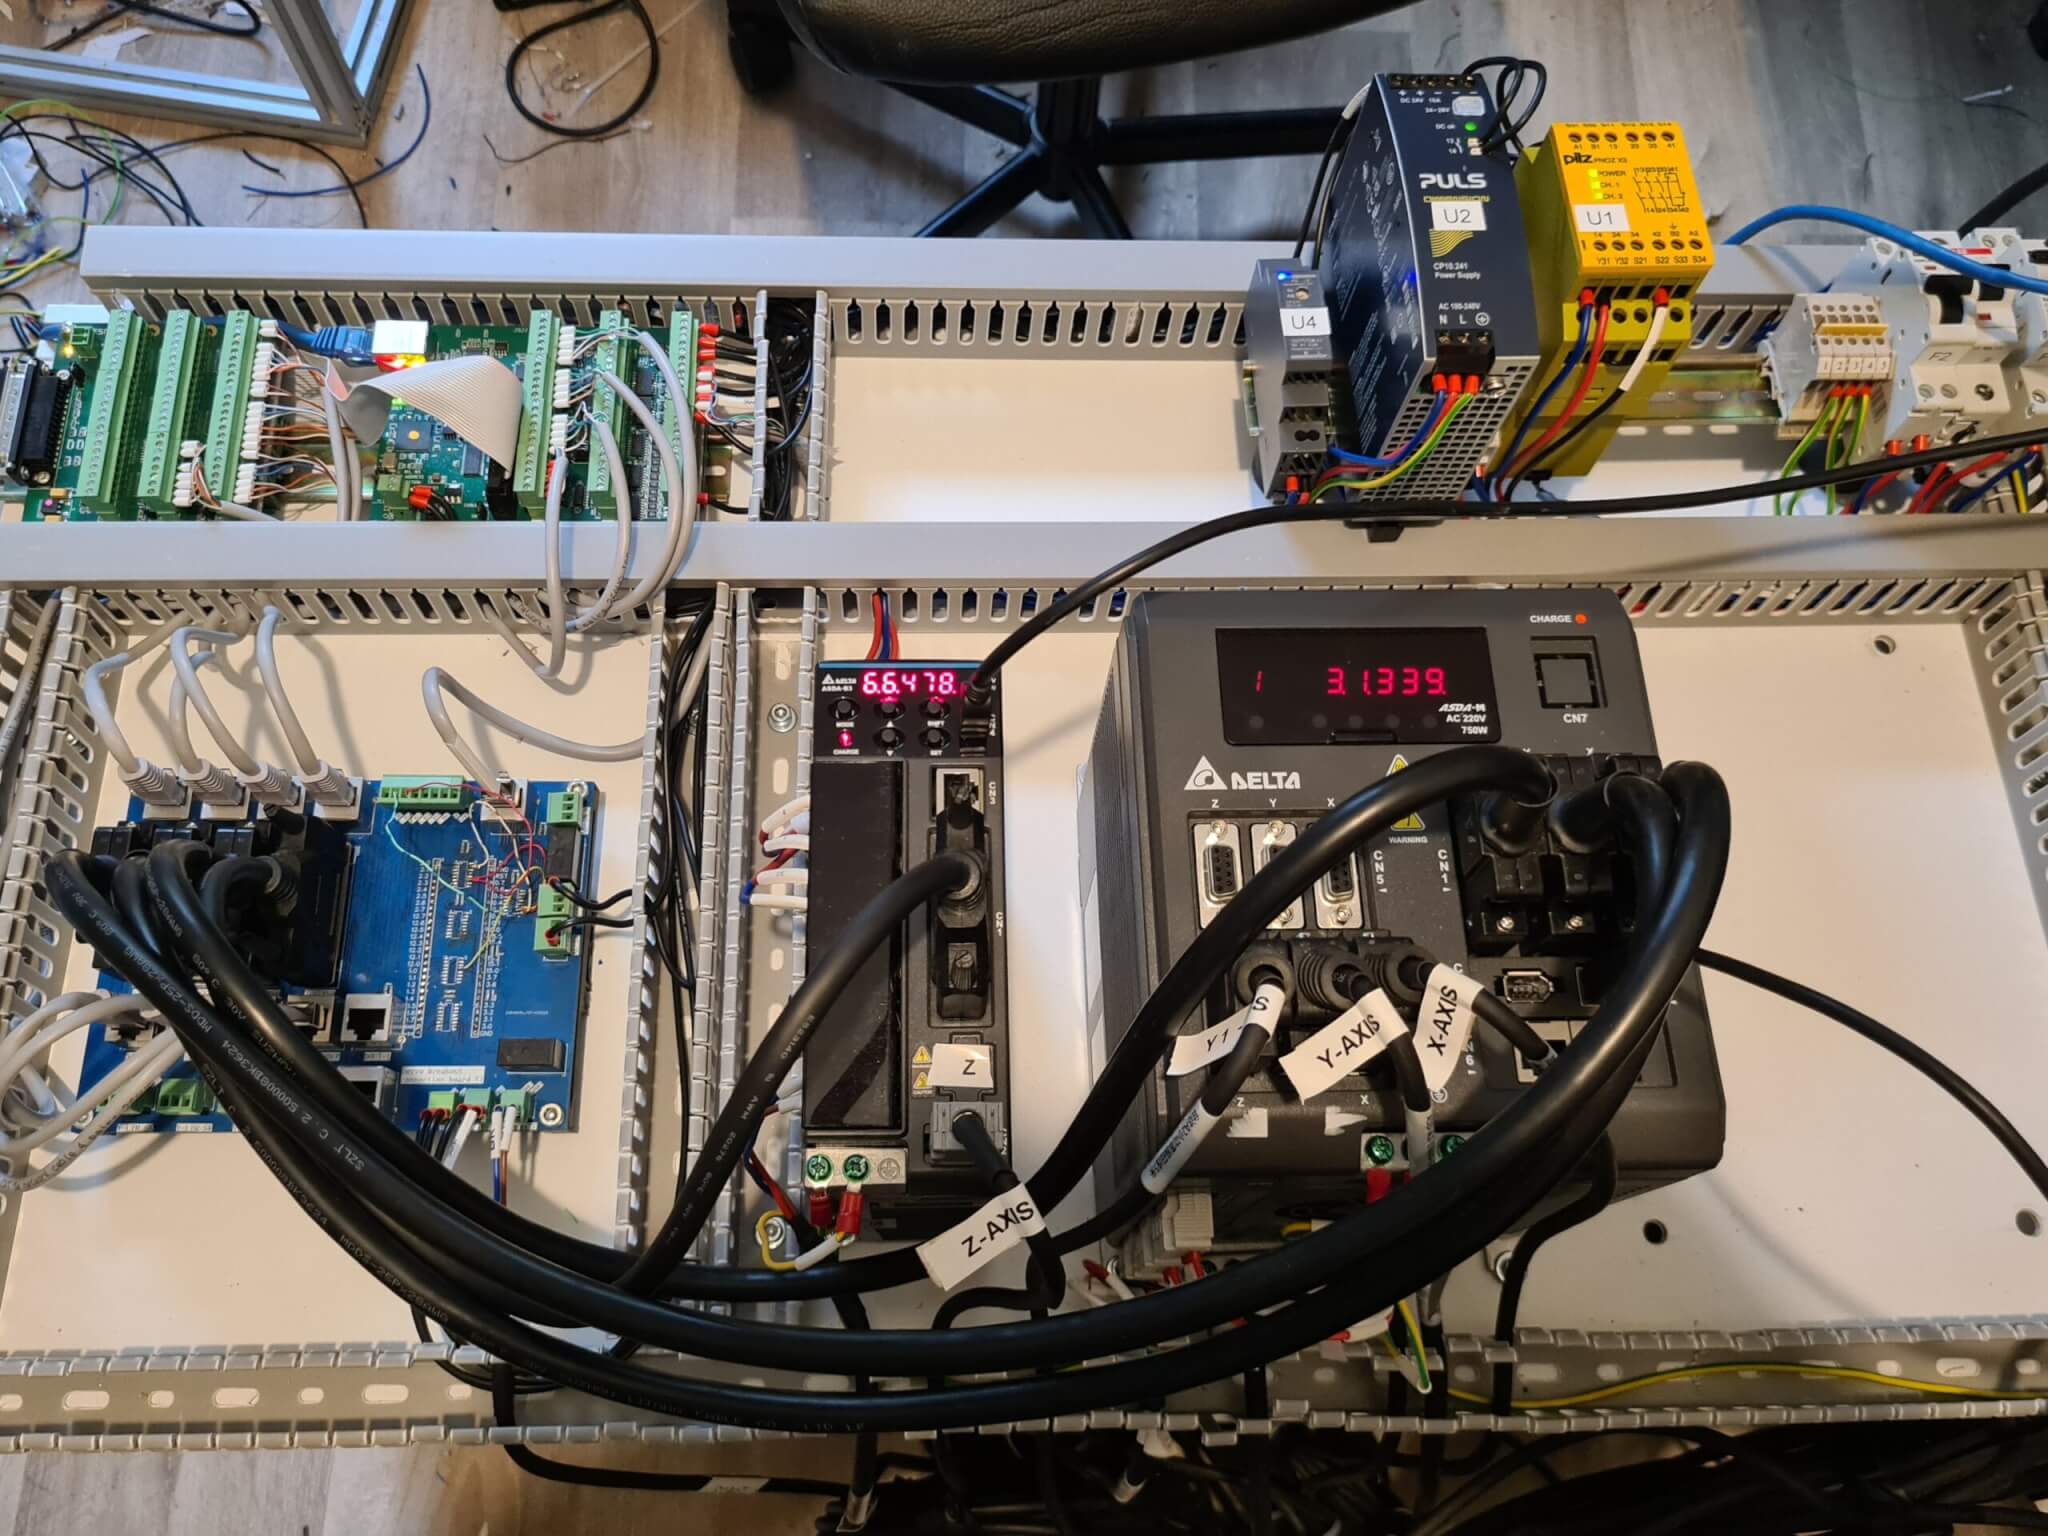
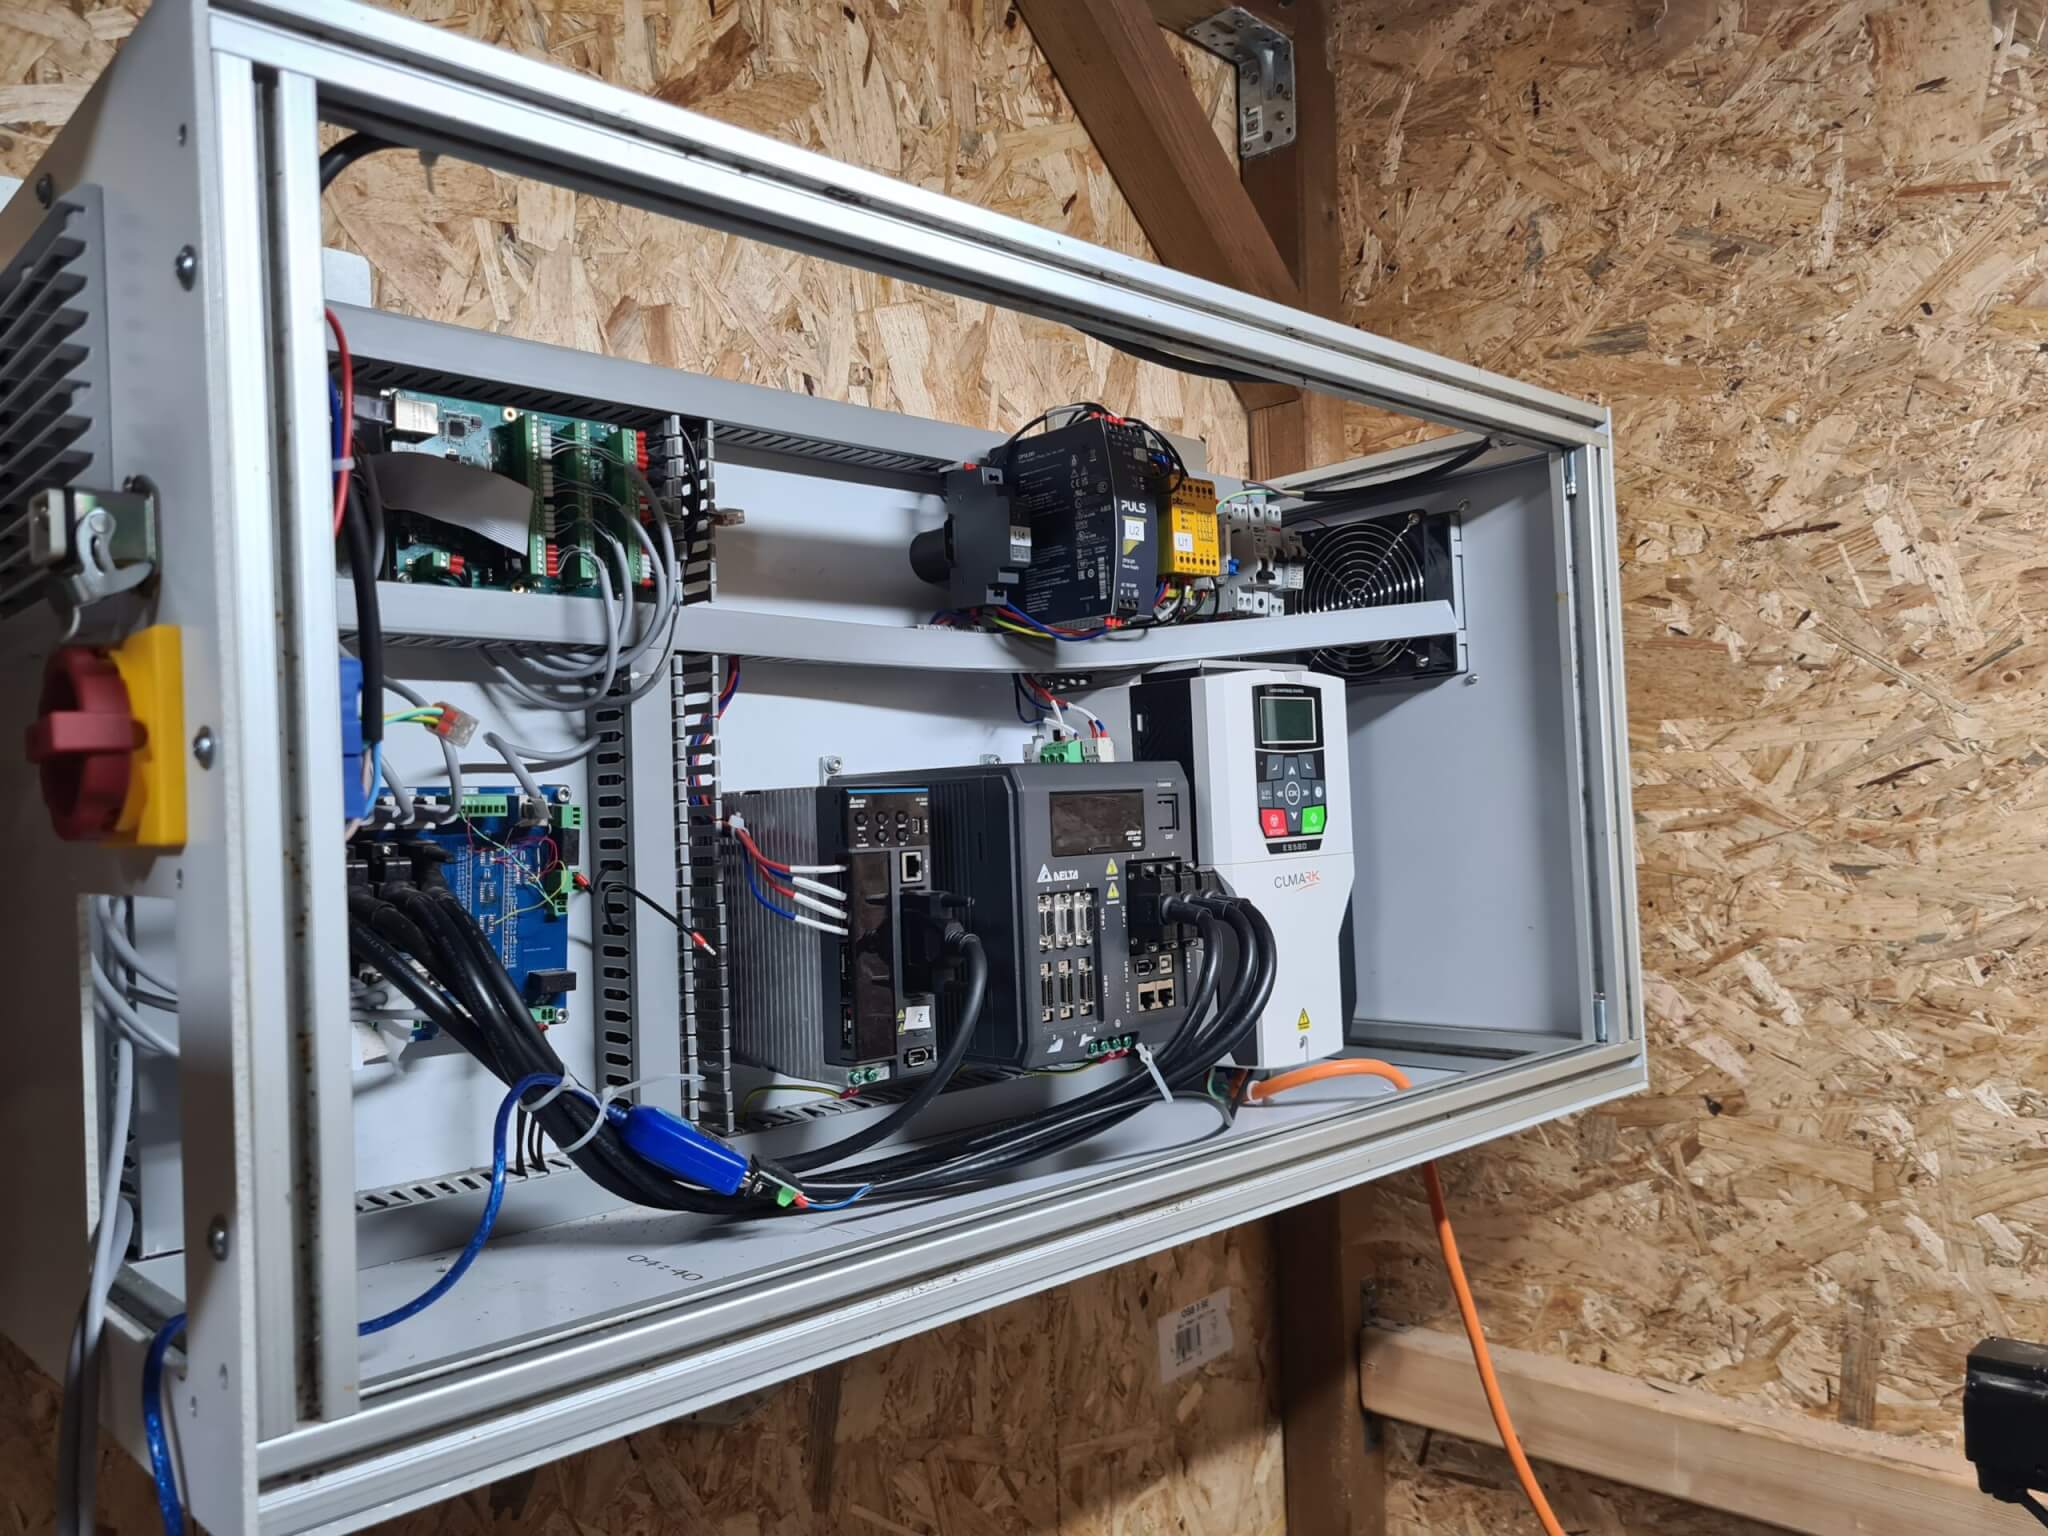
After I wired most of it on the desk I hung it on the wall and started connecting it to the CNC.
Finishing the mechanics
I kinda dropped and messed up the C5 1605 nuts I had on my spindles. As they were already too short anyway I decided to pick up some new ones from Aliexpress:
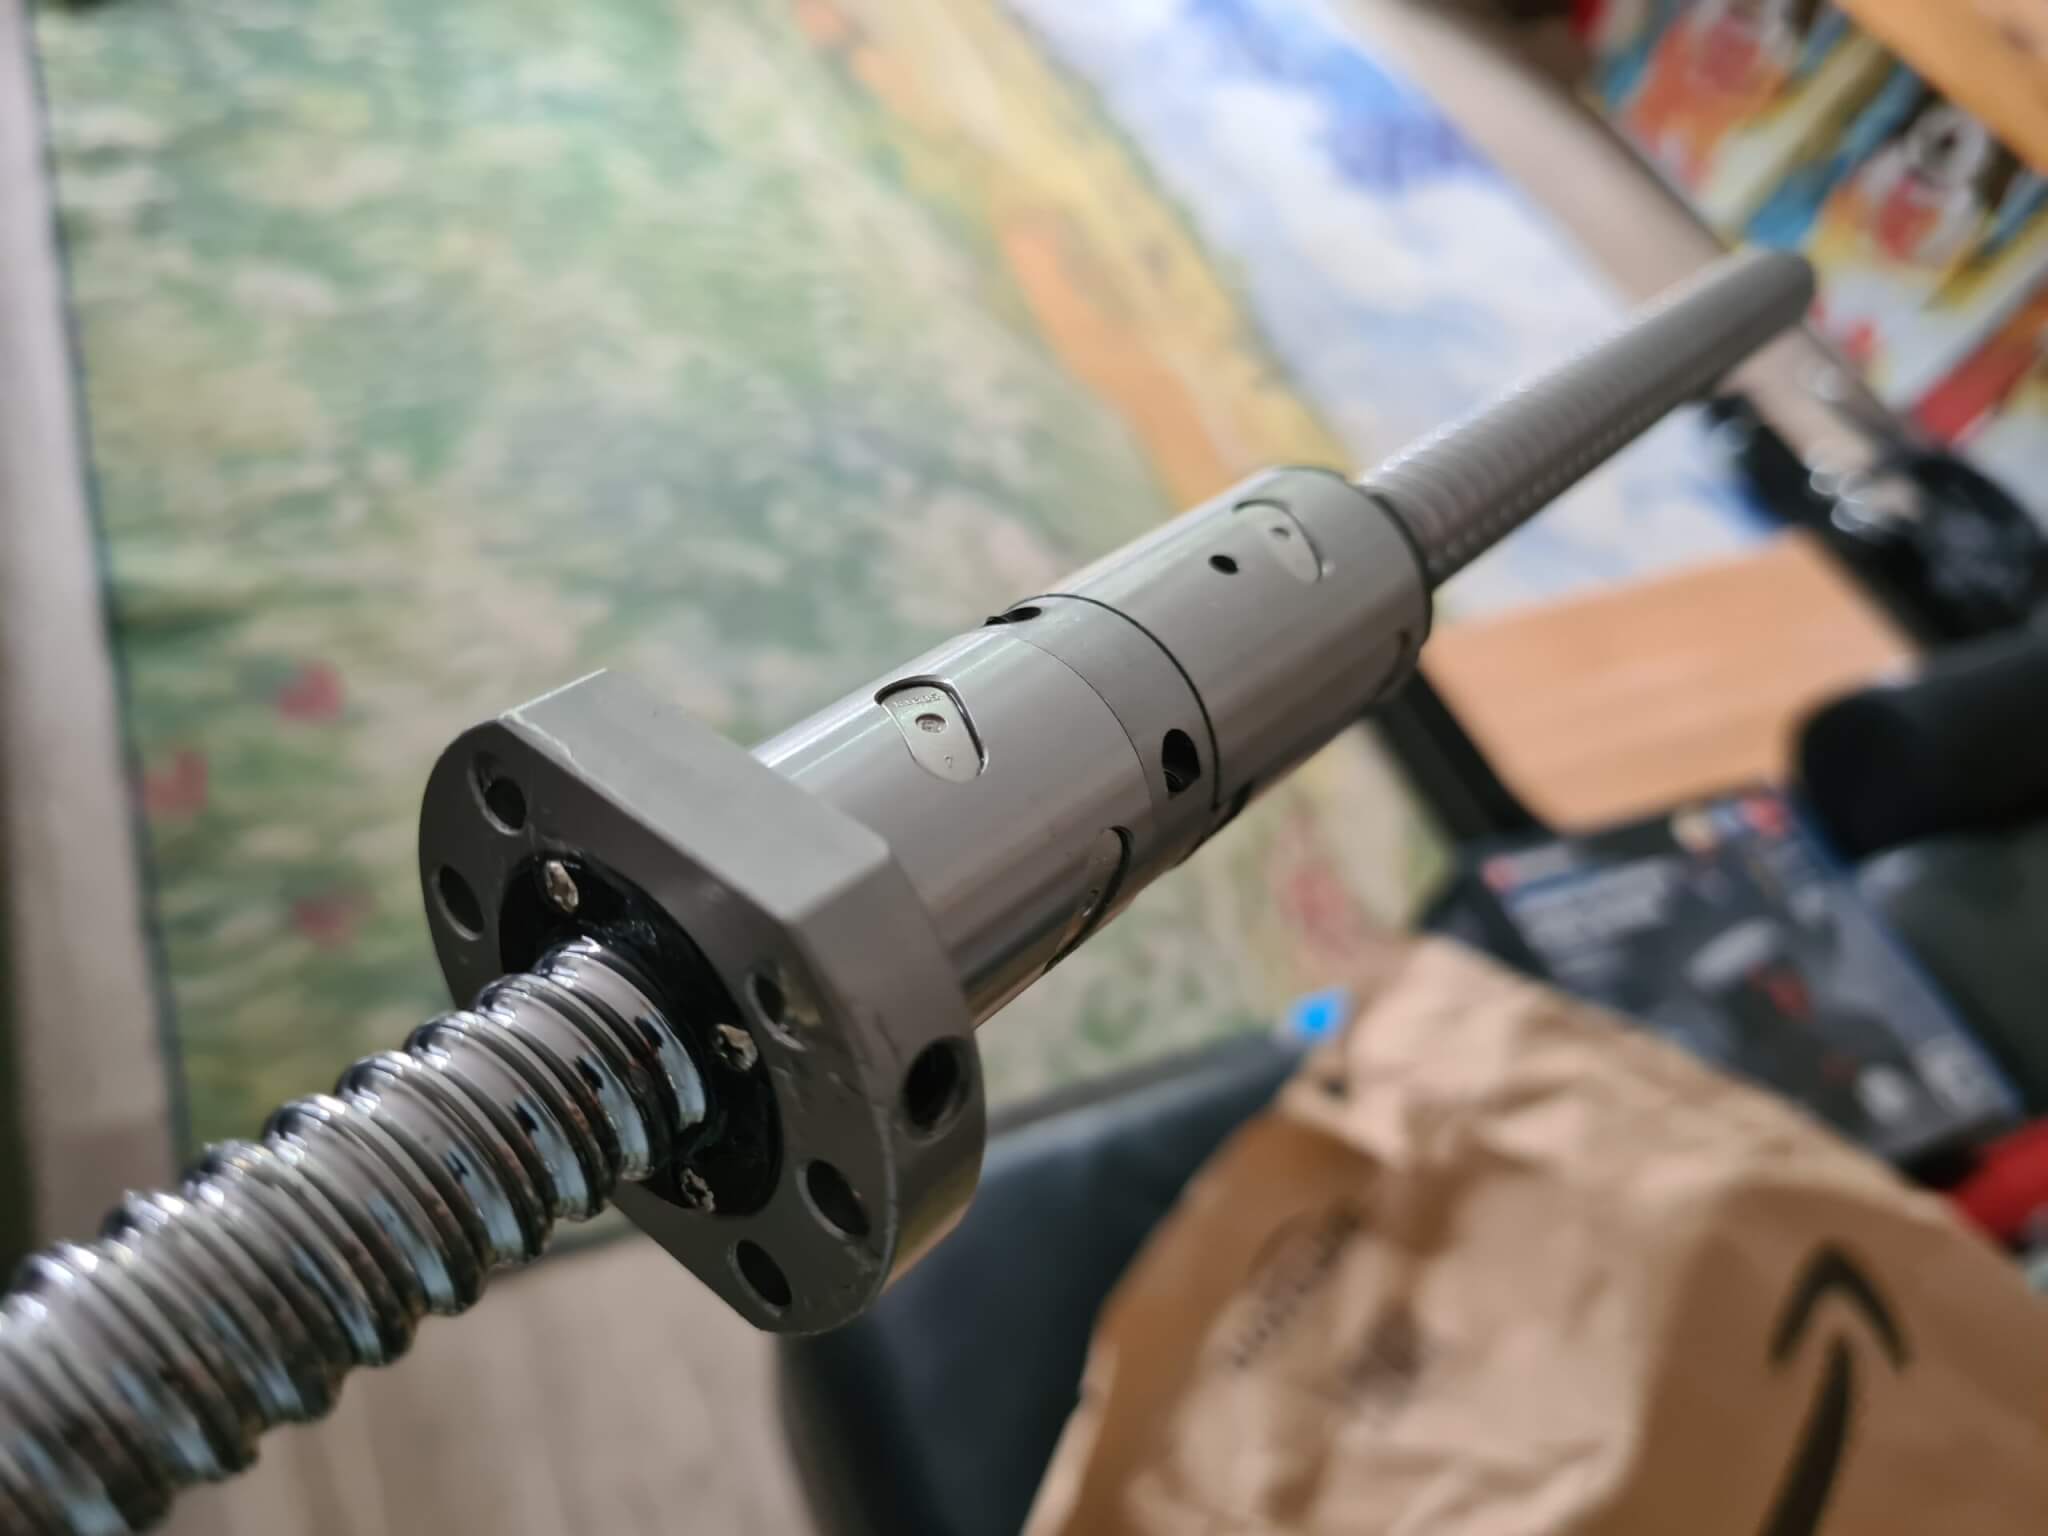
I was seriously impressed with how riged the DFU version of the ballscrew feels. There is no play at all. I later on measured it on the CNC itself with load and you dont see it budge at all. I can really recommend these C5 1605 DFU screws from Yixindianqi Store on Aliexpress.
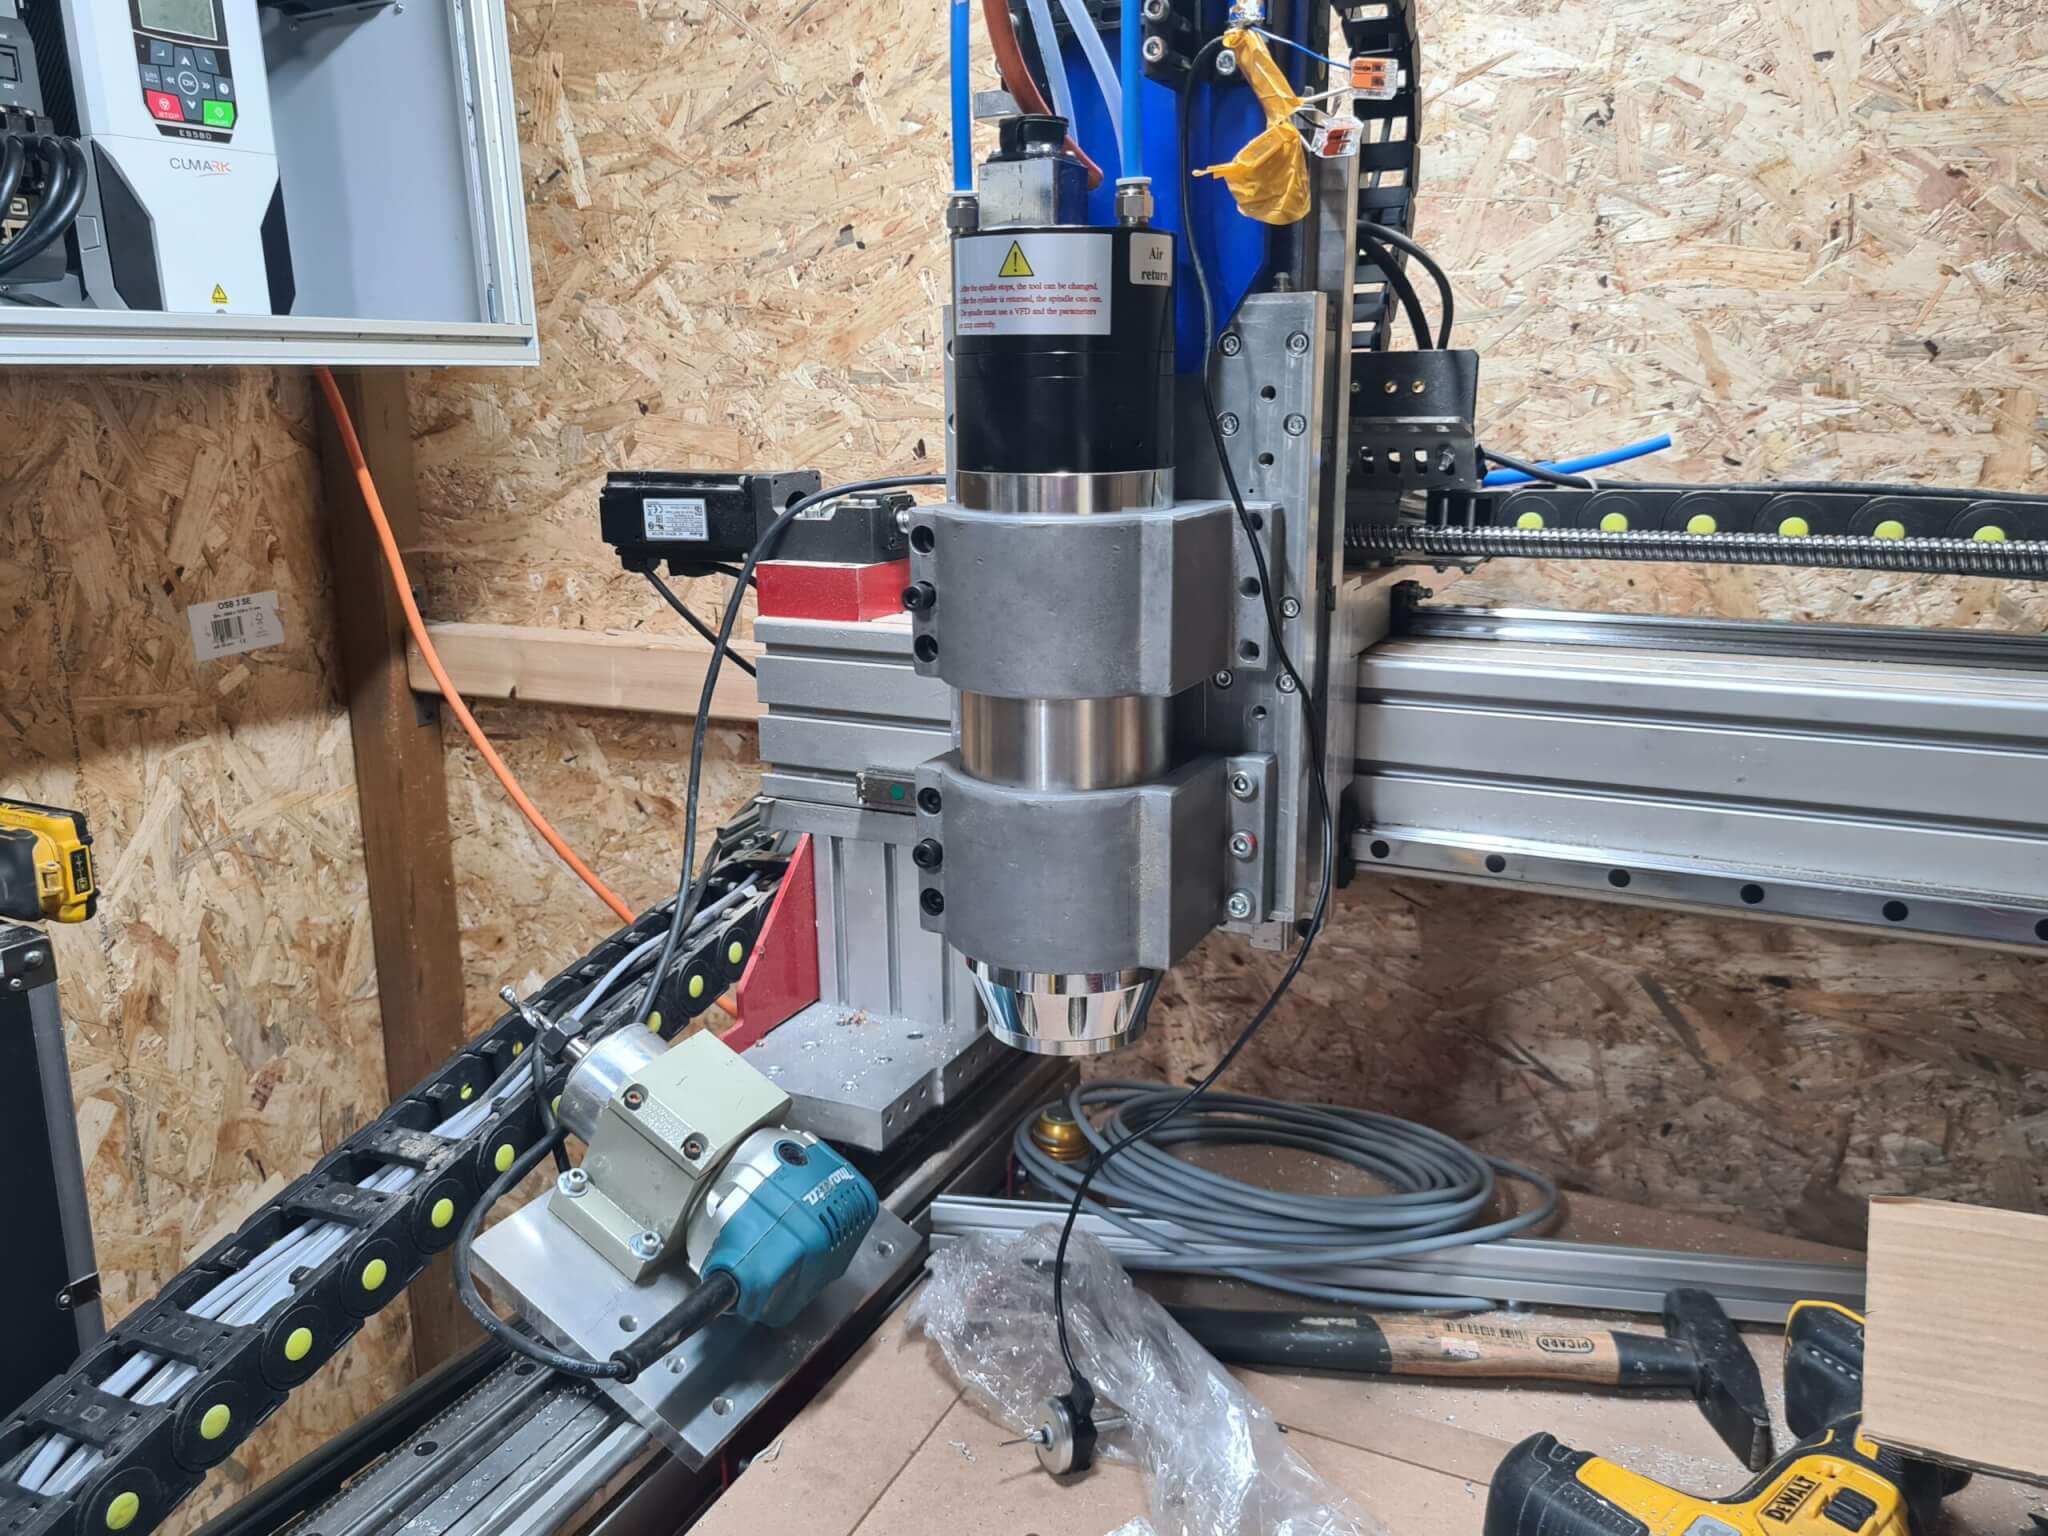
So after completing most of the electronics, I went off to mount the spindle and servo motors. Initially, I had put the MAKITA RT0700 router on there; but that died very quickly after a little accident when I crashed it into the toolsetter.
Because the design of my frame is more of an afterthought … I had to add some way to mount the fixture table/wasteboard on the CNC. While it is not ideal to weld on a relatively precise machine frame, it was still the easiest method to do it.
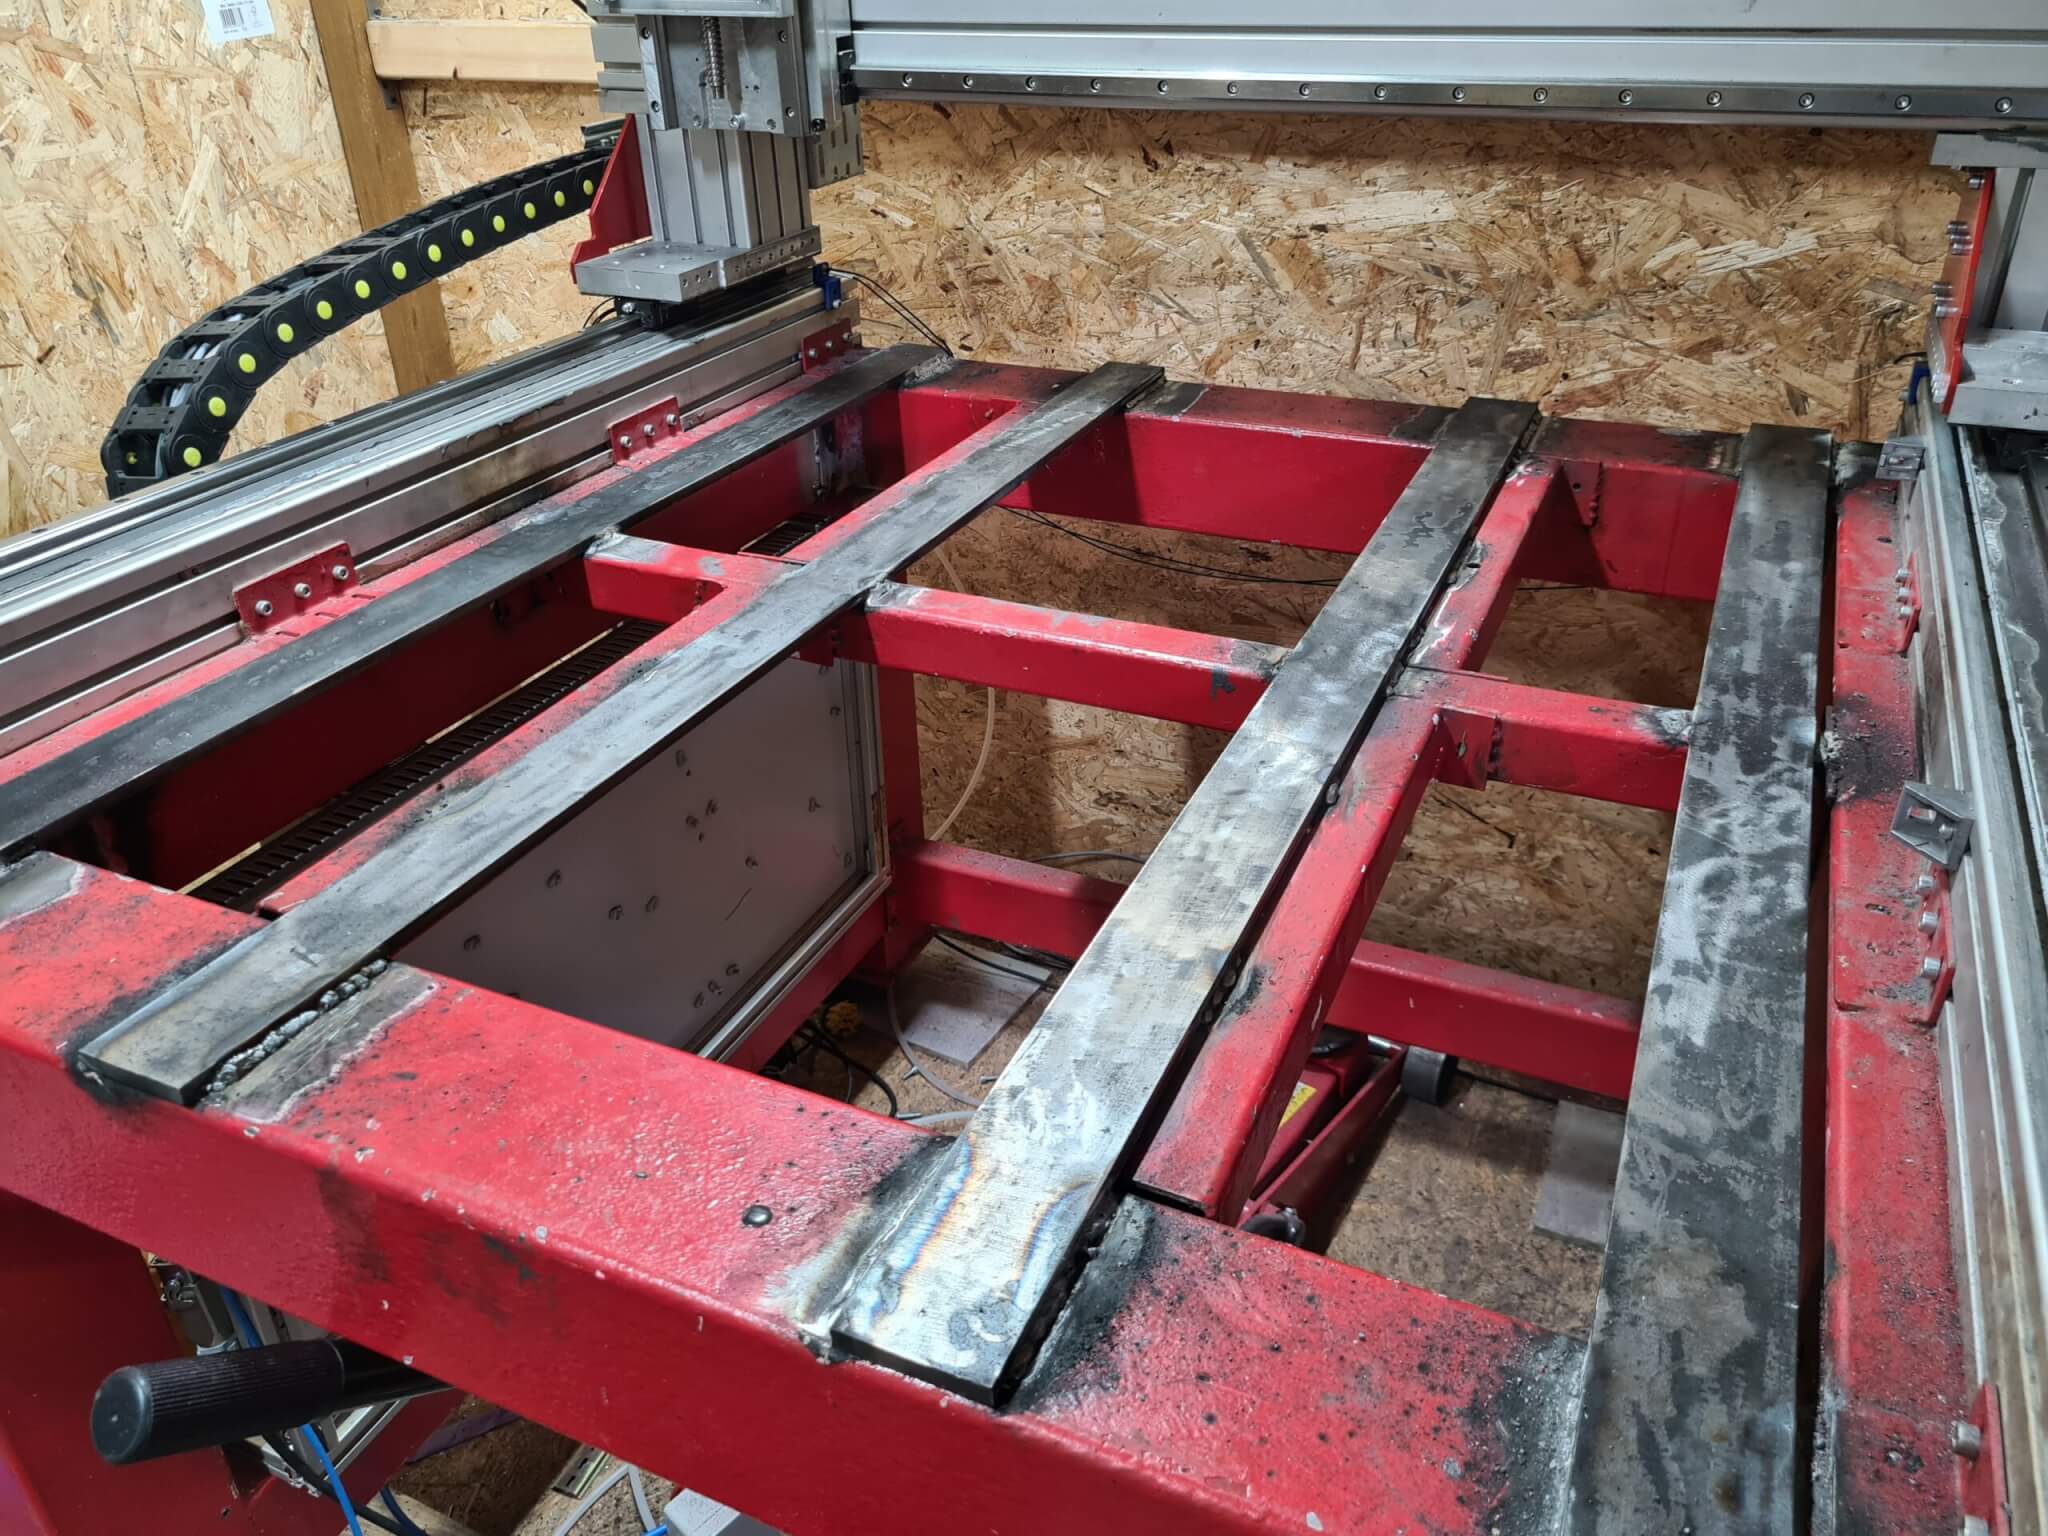
After completing this stage I mounted 36mm of MDF plate to it and went on to the next step
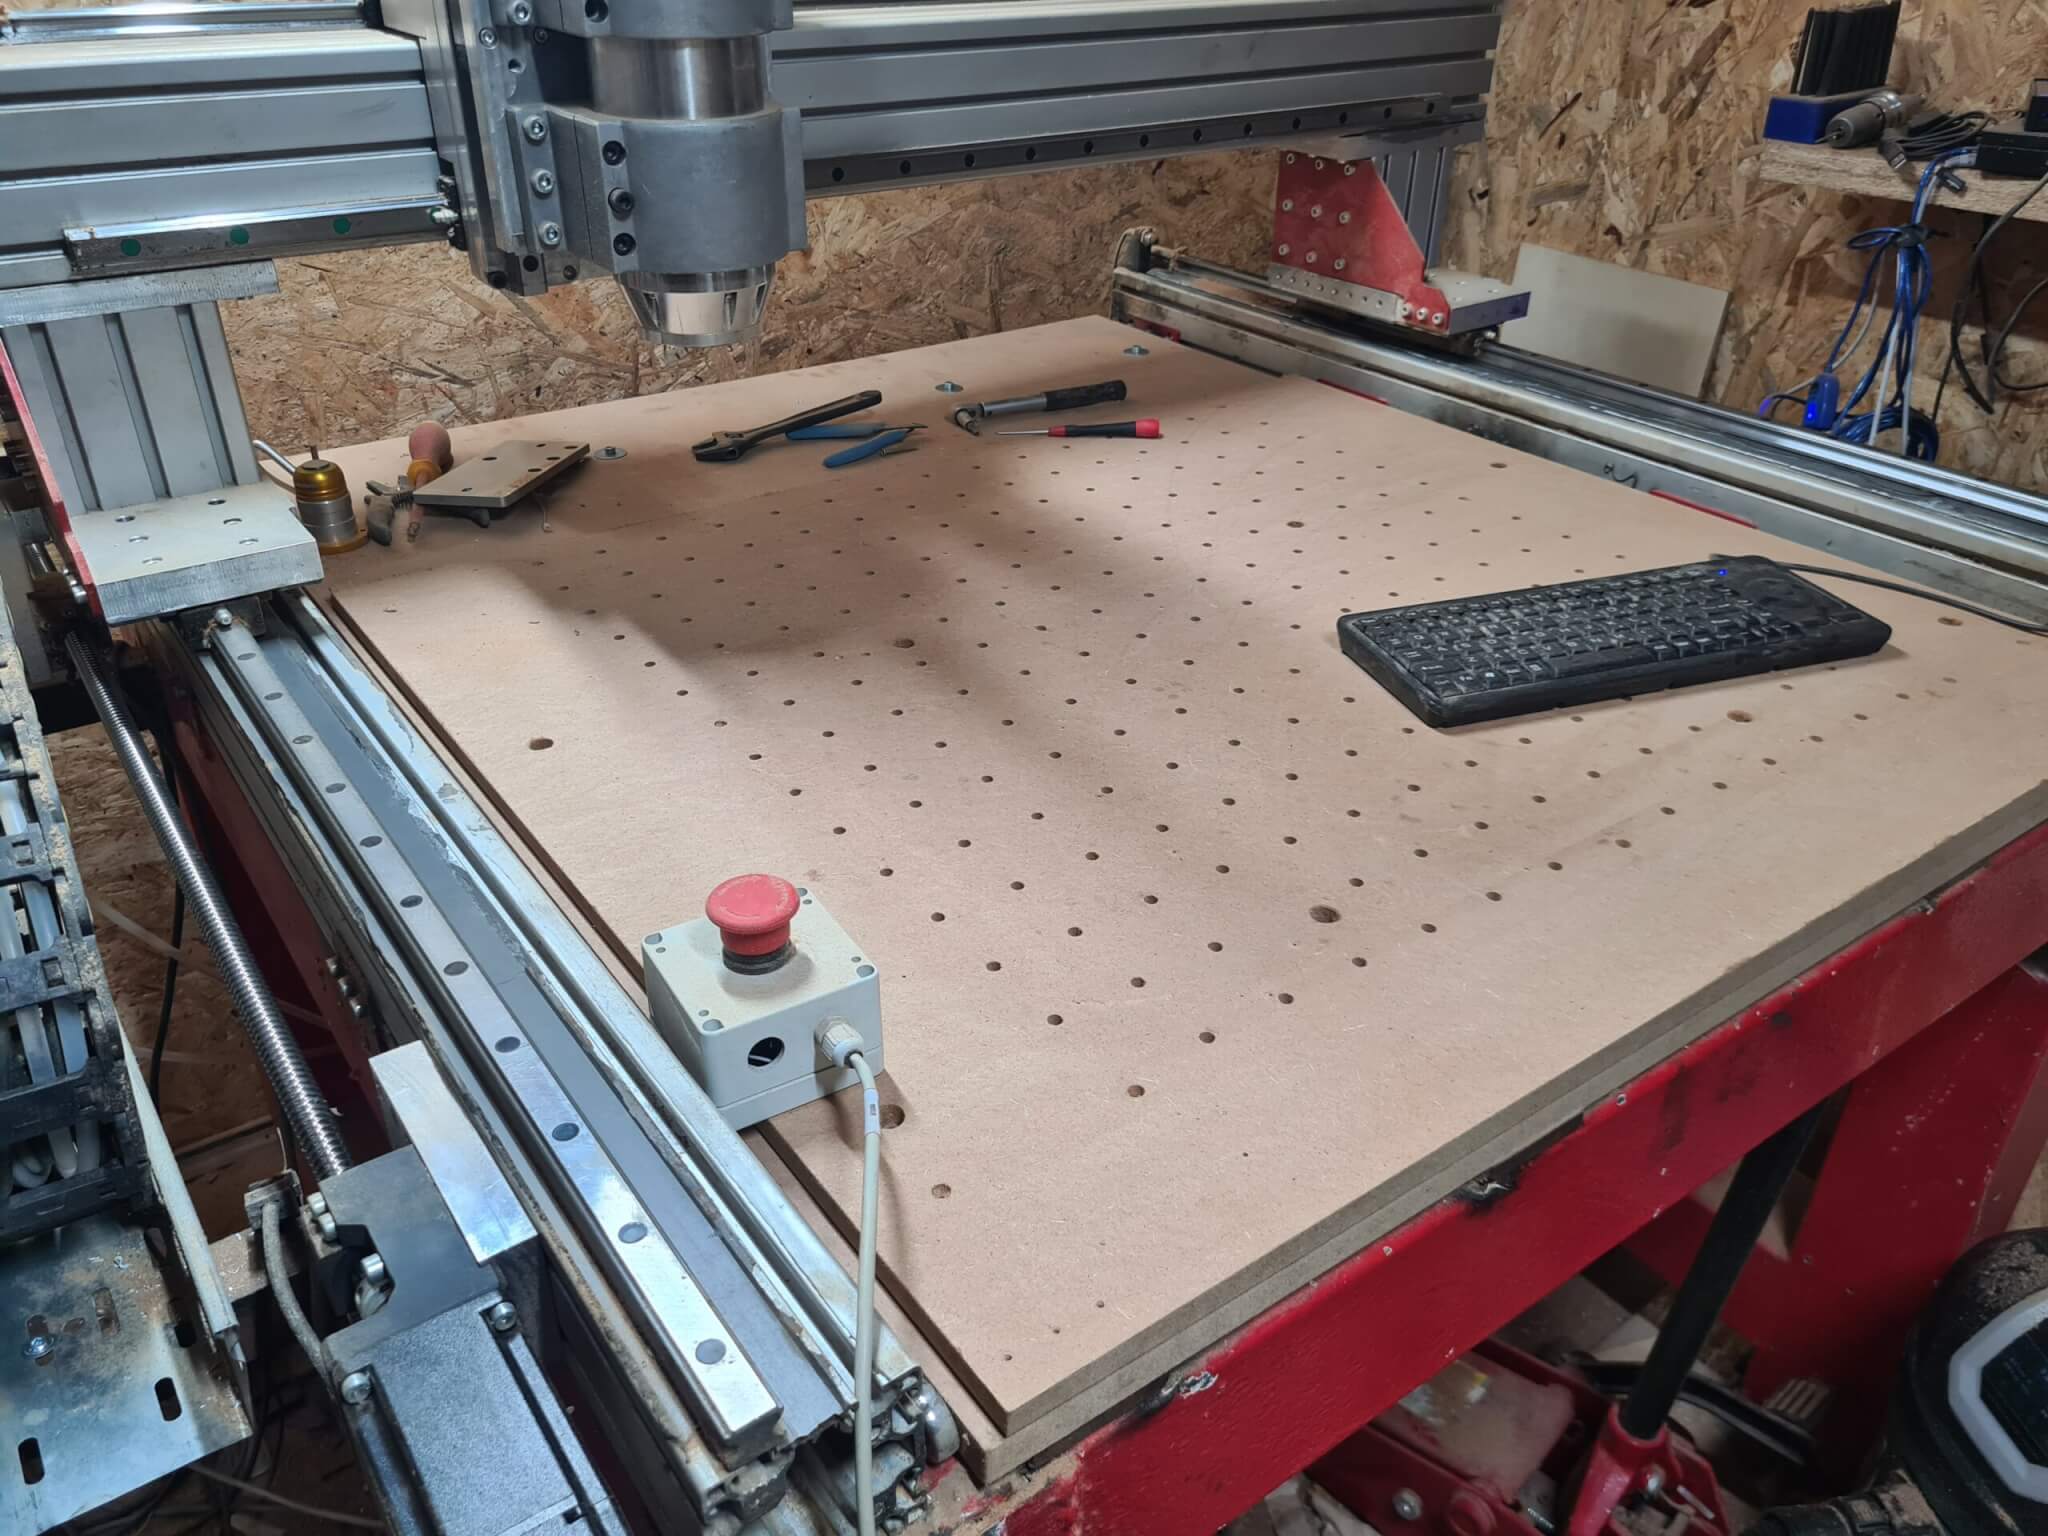
Many small steps in between
So as it goes in a project. you lose focus on documenting a bit and do all kind of small steps. During this time I got probe basic working well on the CNC, tuned the servos and did some final adjustments on the mechanics.
Tramming and aliging the axis
So as in any precision machine build where your mechanics are to perfect, you are going to have to adjust the tram and yaw of the spindle.
I started first with fixing the “nod” of the spindle by putting in a 10mm endmill upside down and using an indicator to make sure the measured distance stayed the same while moving the Z-axis up and down. This was relatively quick to be fixed.
For the trimming (rotation of Z spindle ) I did the following:
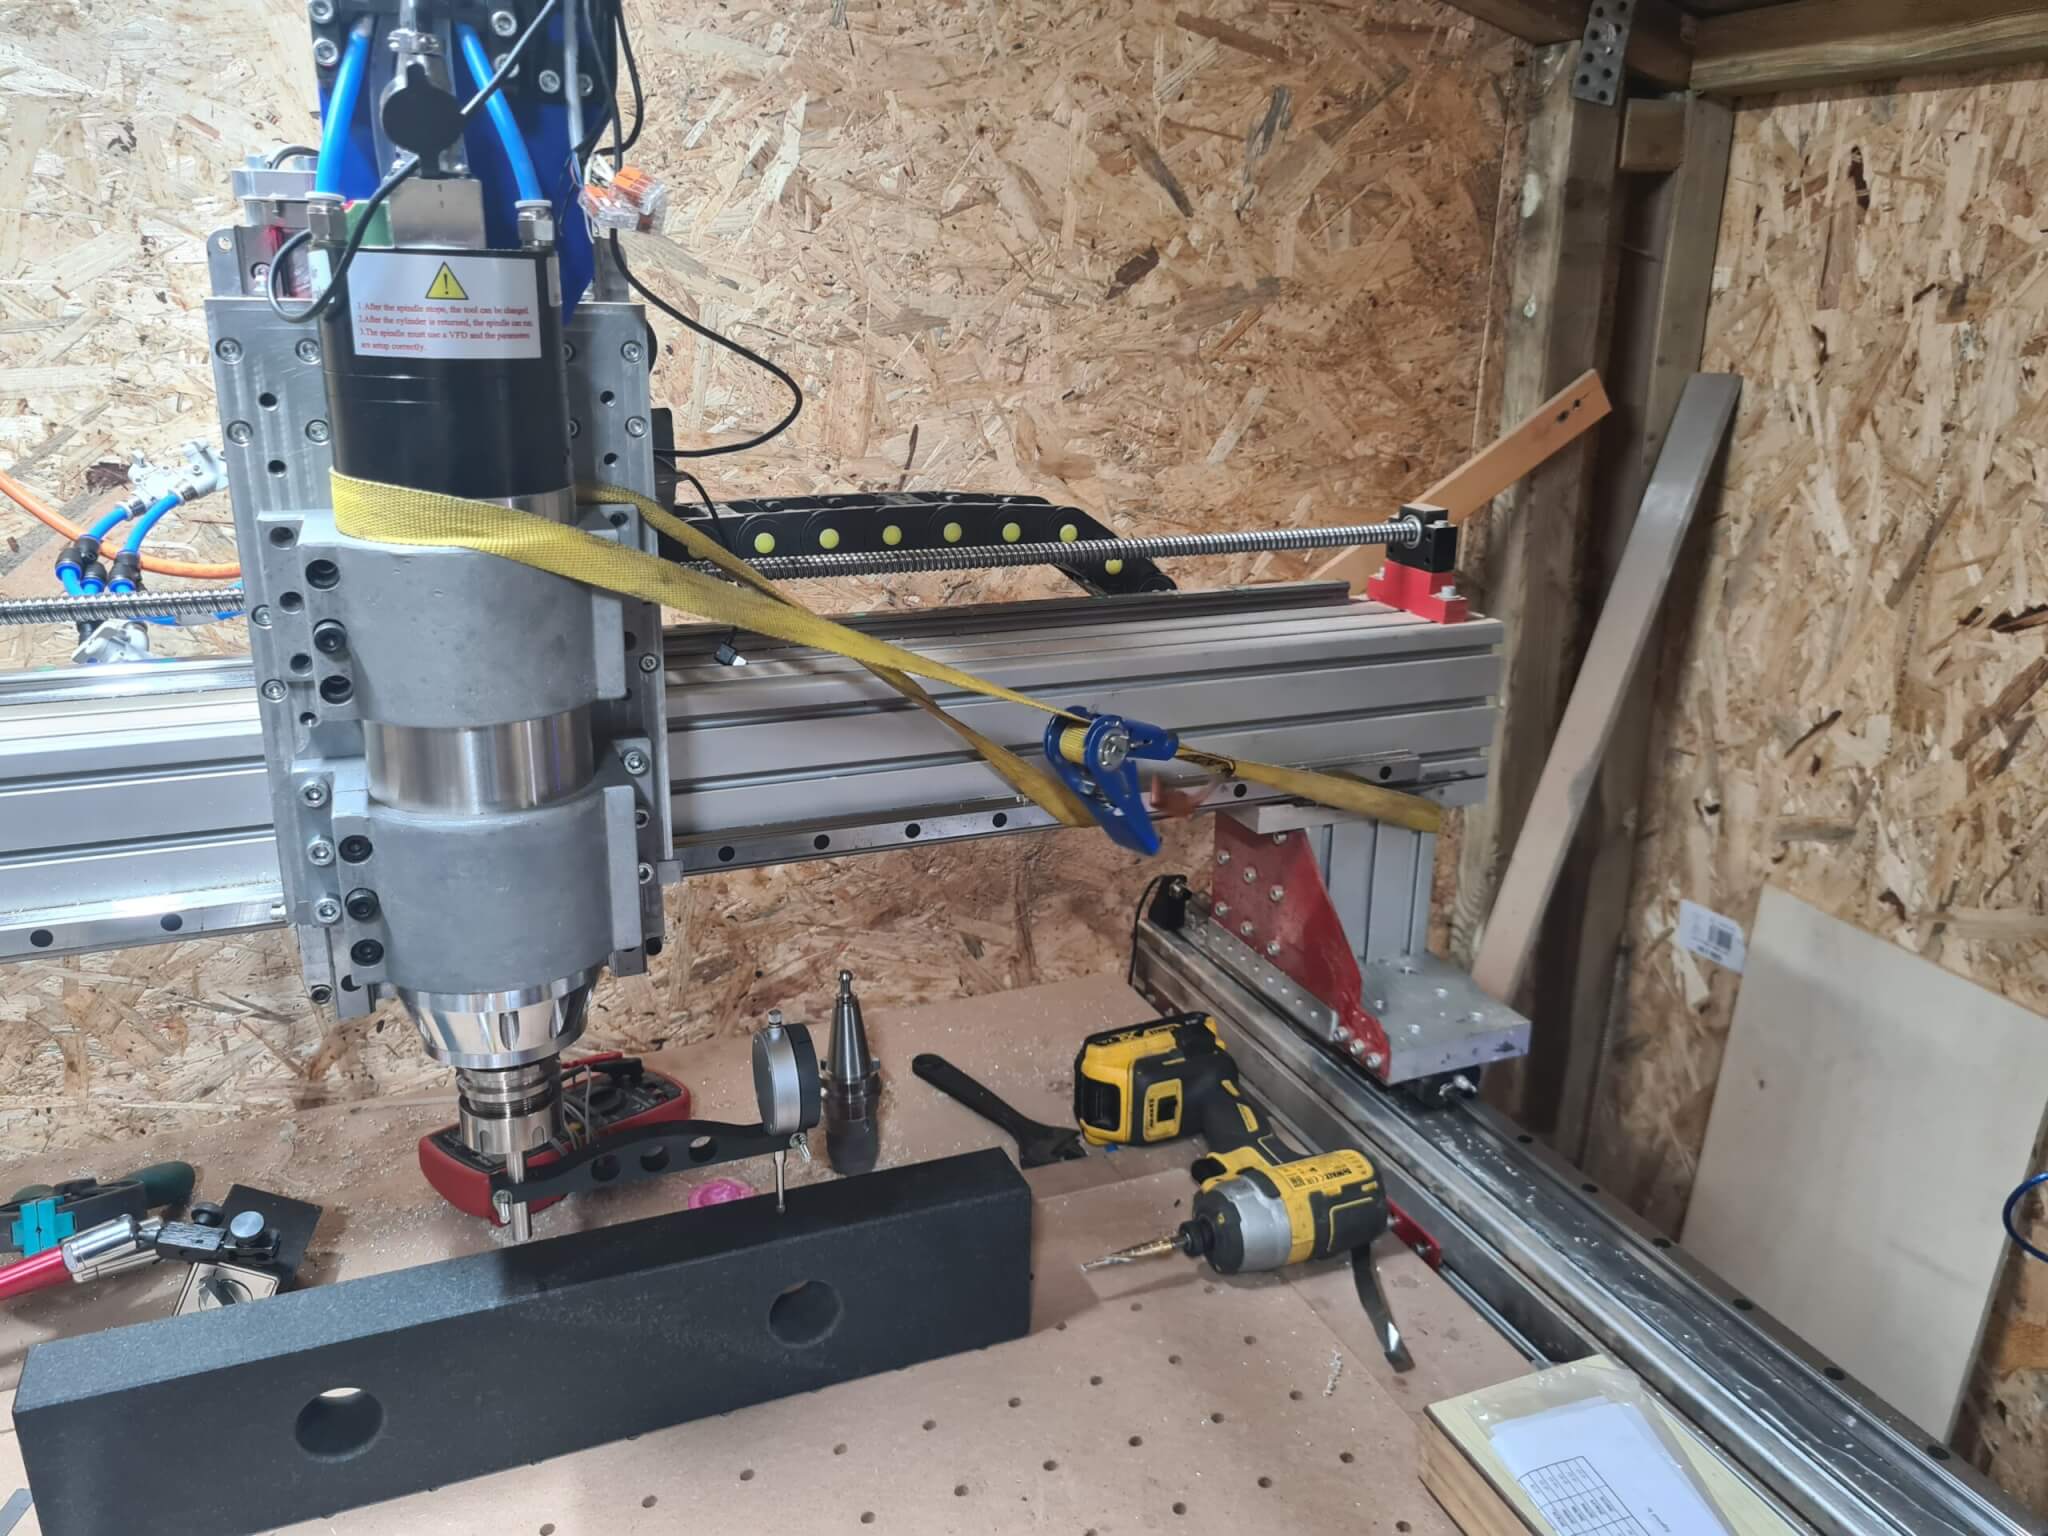
So I 3d printed a spacer so I could mount my indicator on the spindle. Turned it round to make sure the distance of the indicated stayed the same. As my z-axis is quite heavy, I found the use of a strap quite useful to slowly get it in the right spot.
Making chips!
After spending some more time with the machine I made another short video where I did some more drilling and milling
Can it mill hardened steel?
So a question that comes up quite a lot is if the Lusintun BT30 ATC spindle can mill steel? The answer is yes, the spindle itself is not the limit. The stiffness of the machine is.
I did some testing on some hardened steel to make sure it could handle normal steel with ease.
Conclusion – Mightymill build Part #4
Since part #3 quite a lot has happened. The machine is together, is working and performing pretty well. As this is the first full CNC build that I have done there are plenty of areas that need improvement. One of the main things is to make the Z-Axis stiffer and make a better connection from the gantry to the ballscrew.
Other than that I’m happy with how it performs!
Make sure to subscribe to the newsletter to make sure you don’t miss any updates.
Feel free to reach out to me on discord