Intricate detail in thick plate kept burning out on my fiber laser. It wasn’t a power problem — it was a heat problem. Cooling points fixed it. Here’s how, and the one thing I’d change.
The 30-second version — before vs after, side by side:
And the full RAW cut with cooling points, start to finish (~2.3 min):
The problem: intricate detail in thick plate kept blowing out
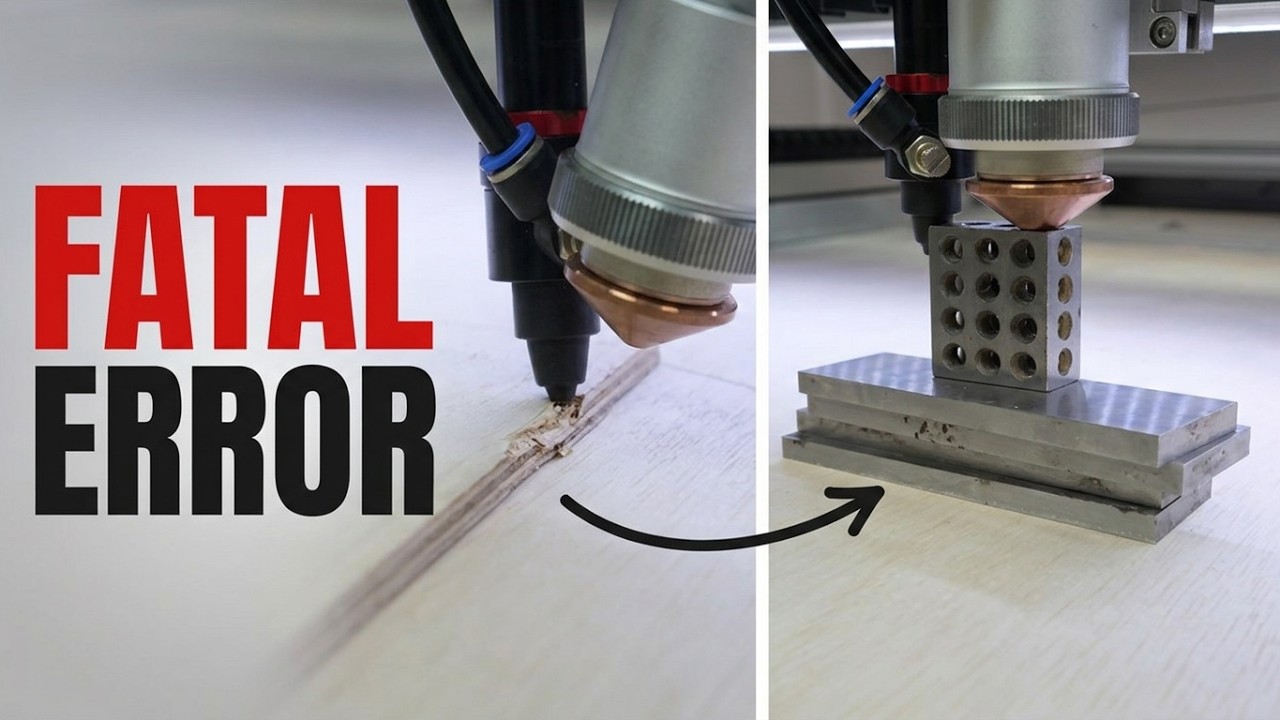
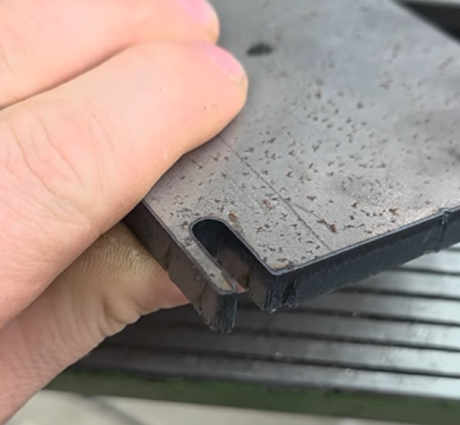
I was cutting 8mm carbon steel with oxygen assist, trying to get some fairly intricate geometry out of it — small holes, tight internal features, detail packed close together. And it kept failing. Not “slightly rough edge” failing. Big, ugly blowouts: holes burning wide open, features melting into each other, material vanishing where I wanted it to stay.
I did what most people do first — I started messing with settings. Power up, power down, faster, slower, pressure changes. None of it really fixed it. I could clean up the big cuts, but the small stuff still burned out.
Then someone mentioned cooling points. I’d heard the term, but honestly had no clue how to actually use them. Once I did, it clicked fast — and the difference was major.
BEFORE — no cooling points: rough, blown-out edge and heavy dross.
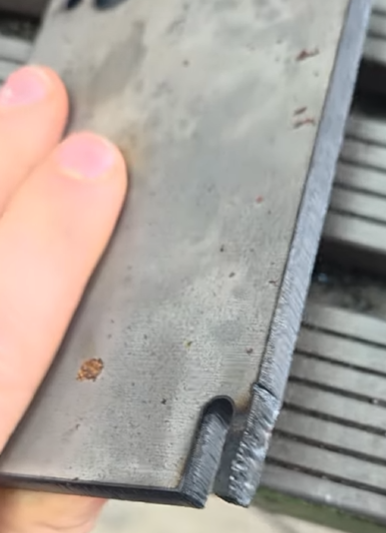
AFTER — with cooling points: clean edge, the detail holds.
Why oxygen makes this worse, not better
Here’s the thing people forget about cutting carbon steel with O₂: oxygen doesn’t just blow the melt out of the kerf, it burns the steel. The oxidation reaction is exothermic — it adds heat to the cut on top of what the laser is already putting in. That’s exactly why O₂ rips through thick mild steel so fast.
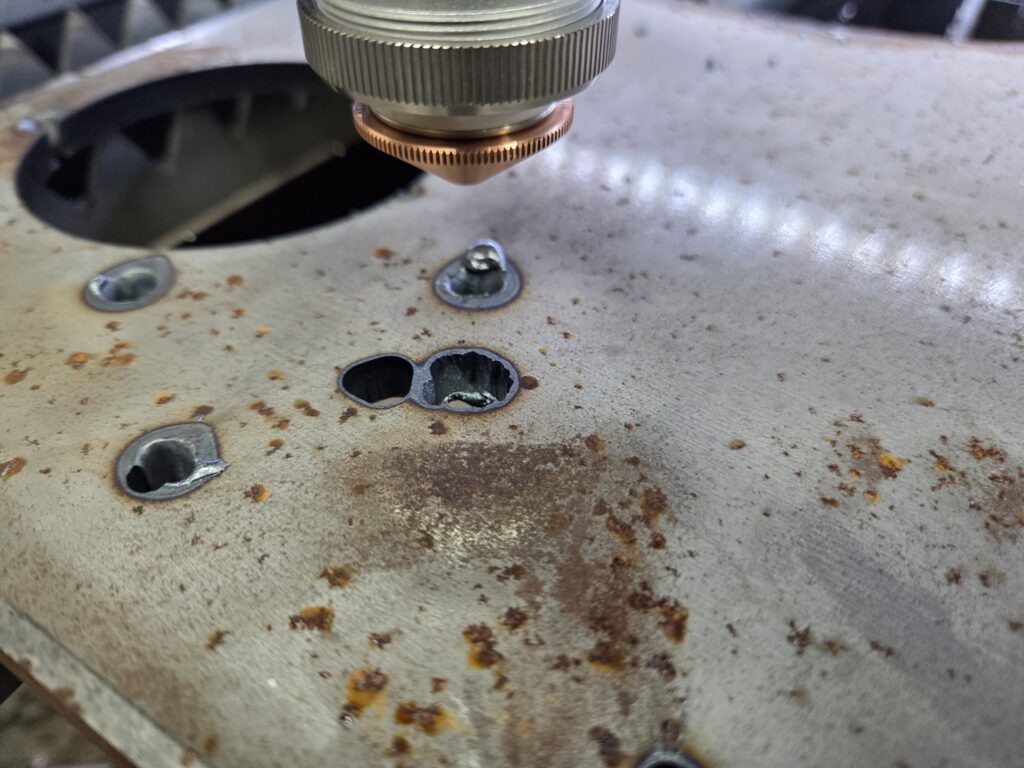
But that extra heat is what bites you on small features. When the head slows down — rounding a tiny hole, working a tight corner, threading through a cluster of detail — the same energy dumps into a much smaller patch of metal. The heat has nowhere to go. It builds, the reaction runs away, and the feature blows out.
So it isn’t really a “settings are wrong” problem. It’s a heat accumulation problem. Fix the heat, fix the cut.
What a cooling point actually does
A cooling point is exactly what it sounds like: a spot in the toolpath where the machine pauses and lets the area cool before carrying on. In the software they show up as little dots dropped near the problem features — you can see them scattered all over the intricate side of my toolpath in the video.
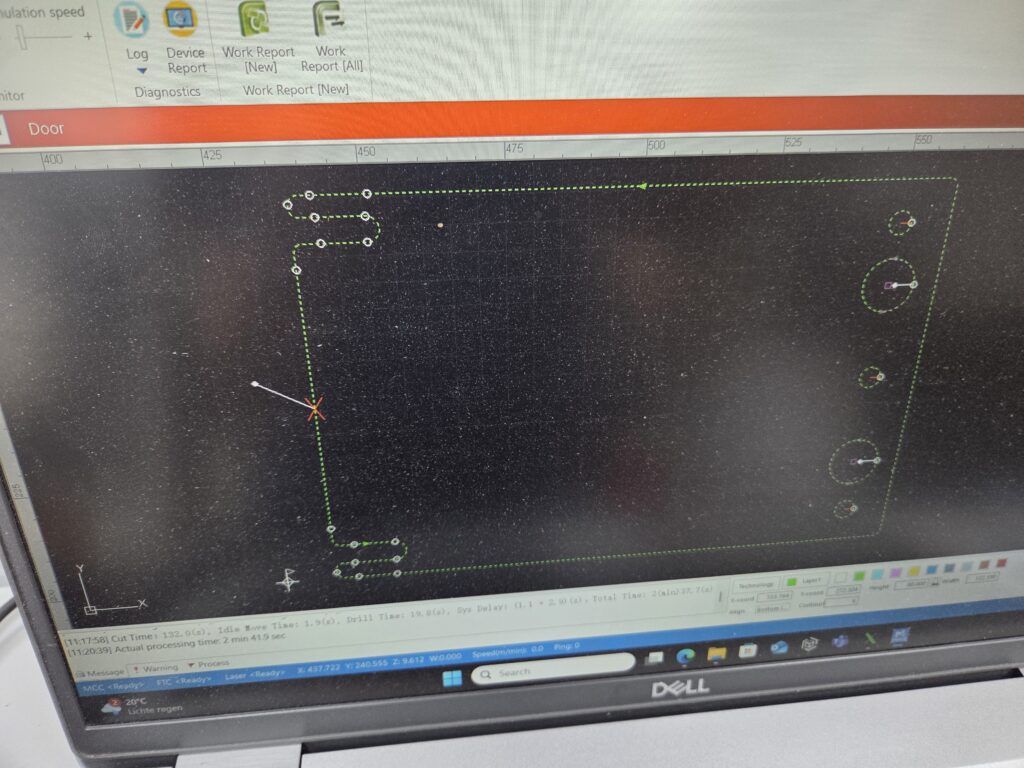
Instead of running one continuous, ever-hotter pass through a dense cluster of detail, you break the heat cycle. The metal sheds some of that accumulated energy, and the next move starts from a cooler baseline instead of an already-glowing one. On thick plate with O₂, that’s the whole game.
The two things that fixed it together
Cooling points were the headline fix, but on their own they weren’t quite enough. The second half was making the cut profile dynamic.
I turned on Dynamic Power and Dynamic Frequency, which scale laser power and pulse frequency down as the head slows. My curve holds around 30% at low velocity and ramps to 100% as the head gets up to speed. So instead of hammering full power into a corner where the head has basically stopped, the machine backs off exactly where heat would otherwise pile up — then comes back to full send on the long runs.
Cooling points manage accumulated heat; dynamic power/freq manages instantaneous heat where the head slows. Together, the intricate side finally came out clean.
The settings I landed on (8mm carbon steel, O₂)
These are the numbers from the run in the video. Starting point, not gospel — every machine, lens, and plate is a little different.
| Cut parameter | Value |
|---|---|
| Material | 8mm carbon steel |
| Cut height | 0.6 mm |
| Cut speed | 0.9 m/min |
| Cut power | 88% |
| Cut frequency | 2000 Hz |
| Peak current | 88% |
| Assist gas | Low O₂ |
| Gas pressure | 0.6 bar |
| Dynamic Power | On (~30% → 100%) |
| Dynamic Frequency | On (~30% → 100%) |
| Pierce stage | Height | Power | Freq | Peak | Gas | Time |
|---|---|---|---|---|---|---|
| First drill | 10 mm | 75% | 450 Hz | 100% | Low O₂, 0.8 bar | 1200 ms |
| Second drill | 15 mm | 75% | 900 Hz | 100% | Low O₂, 0.8 bar | 500 ms |
The staged pierce matters too: on 8mm you don’t want to punch through in one shot. Piercing high and stepping down keeps spatter under control so you’re not starting each contour from a crater.
The honest part: what cooling points cost you
There’s no free lunch here. Cooling points fixed the blowouts, but they come with two real downsides:
They’re slow. Every cooling point is dead time — the head sits and waits. On a part with a lot of fine detail, all those little pauses add up and the cut takes noticeably longer.
They burn oxygen for no reason. This is the one that bugs me. During a cooling point you’re not cutting — you’re just letting the metal cool. But the machine keeps flowing oxygen the whole time. Oxygen is the expensive assist gas, and you’re spending it to do… nothing.
That points at an obvious improvement: cool with air instead of oxygen. Call it an eco mode — during the cooling dwell, switch the assist gas over to plain shop air (or just cut the O₂), then bring oxygen back when the cut resumes. You’re only cooling, so why waste the good gas? On a job with dozens of cooling points that could be a real saving in gas cost, and possibly cleaner too. I haven’t wired this up yet — right now it’s a limitation, not a feature — but it’s the next thing I want to try.
FAQ: cooling points in fiber laser cutting
Parts and tools
Links may update to reflect current pricing and availability.
- Gweike M3 Ultra fiber laser — the machine this was cut on. Get $950 / €950 off the M3 Ultra. The link selects the US or EU store and opens the cart with one M3 Ultra and code YIELD applied automatically. Choose your store manually. Affiliate links: I earn a commission if you buy through them.
- Gweike 3kW screw air compressor — clean, dry, high-volume air for assist gas → gweikecloud.com/products/screw-air-compressor
- Bonus: code W600 for $/€600 off M800/M1200 welders.
Related posts
- I Cheated My Workshop’s 16A Power Limit Without Blowing the Fuse — the peak-shaving build with this same Gweike compressor.
- Makera Z1 Full Teardown: What’s Really Inside This CNC Machine
Filmed on the Gweike M3 Ultra. Full RAW cut and the 30-second before/after Short are linked at the top.