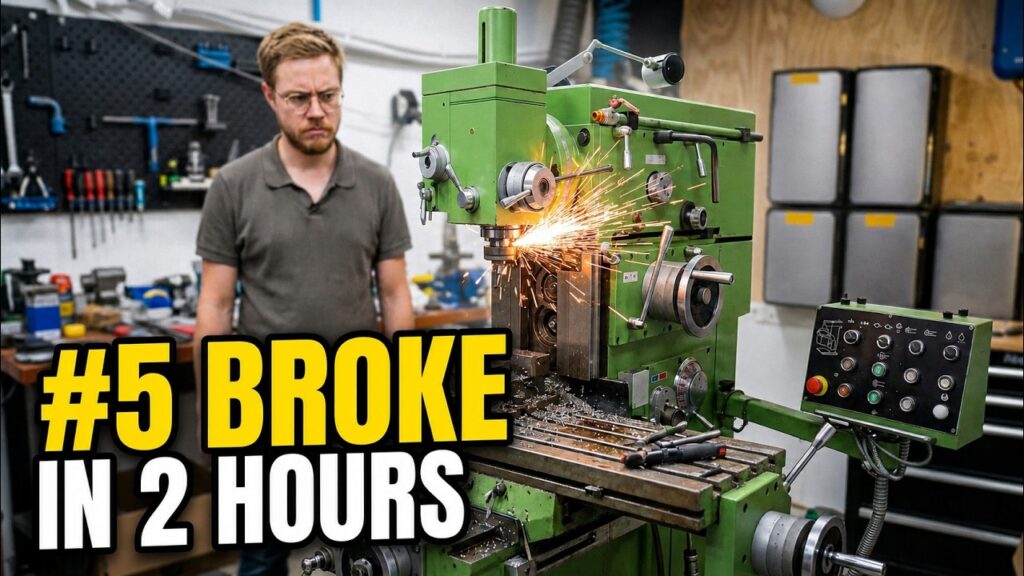
Can AI take a boring design job off my plate? Or is it mechanical slop that I end up fixing myself anyway?
That was the real question behind this build. I had sold a chiller, the buyer was picking it up early the next morning, and I still needed a crate. So I let ChatGPT-6 Astra do the design, checked it in Fusion 360, and cut it on my GWEIKE M3 Ultra the same night.
To be clear up front: this isn’t about an impressive box. It’s a box. The point is whether AI can handle the dull engineering jobs, so I can spend my brain on the interesting ones.
What I gave the AI
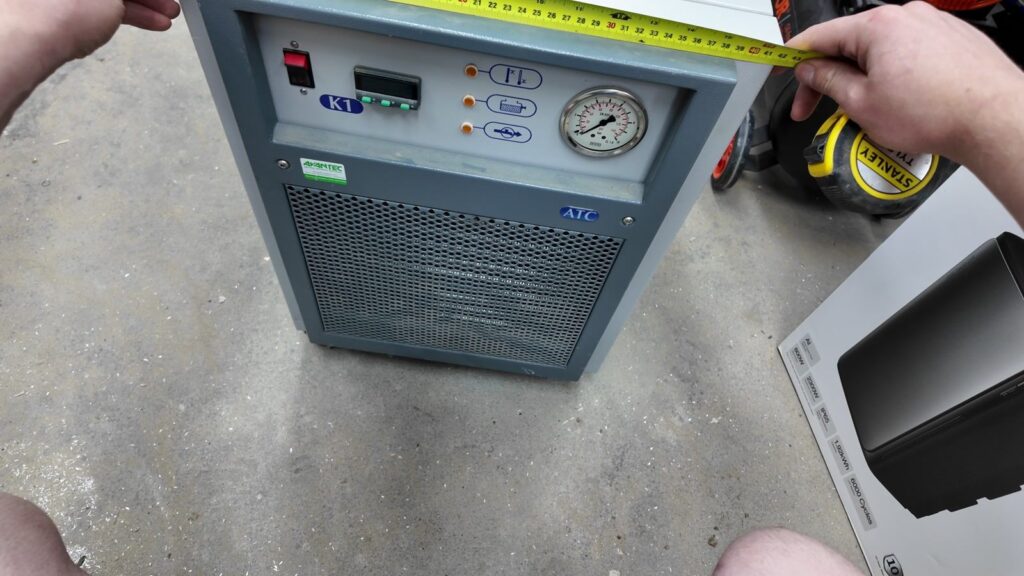
Garbage in, garbage out, so I started with the real limits of the job. The chiller travels on a half Euro pallet of 60 by 80 cm. I measured the chiller, added room for padding, and told it which plywood I was using.
That plywood was a trade-off. I had 18 mm on hand, but I wasn’t confident I could cut it cleanly and get the finger joints to fit. 9 mm cuts far more easily. The open question was whether it would be strong enough.
The first results already looked promising.
Knowing when to stop asking
This is where it almost went wrong, and it wasn’t the AI’s fault. I kept asking for improvements, and every improvement made the design more complex. At one point it had grown a full timber frame. I needed a box, and I was turning it into a project.
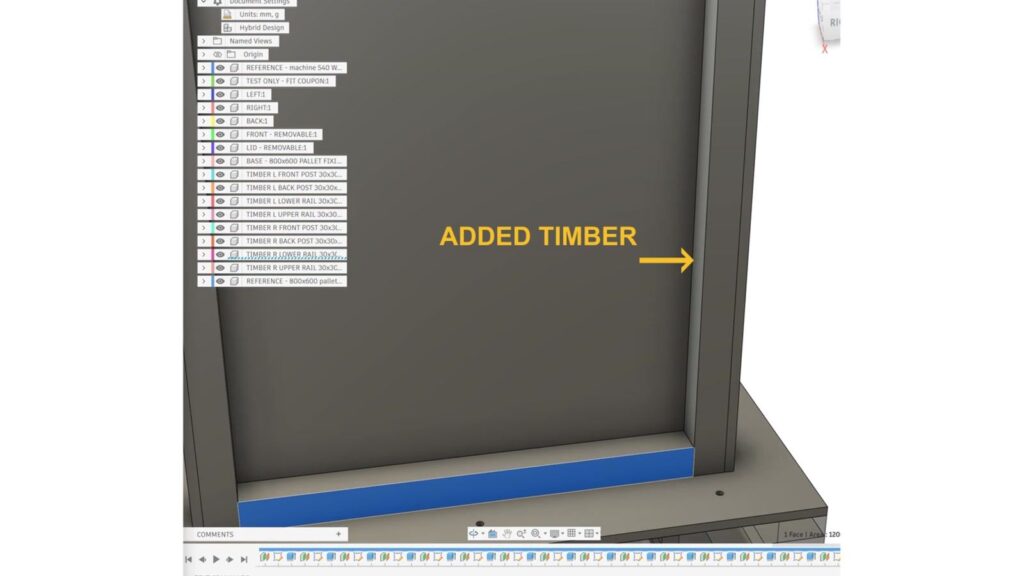
So I tightened the brief: plywood only, simple construction, room for the chiller and padding. That got it back on track. Lesson one: the AI will happily keep adding features. Deciding when it’s good enough is still your job.
Checking the AI’s DXF files before cutting
Before cutting anything, I opened the exported files in QCAD. I skipped the why in the video, so here it is: AI-generated DXFs are often a mess. Six lines stacked on top of each other, that kind of thing. The laser then runs the same path over and over, or the part doesn’t cut properly at all.
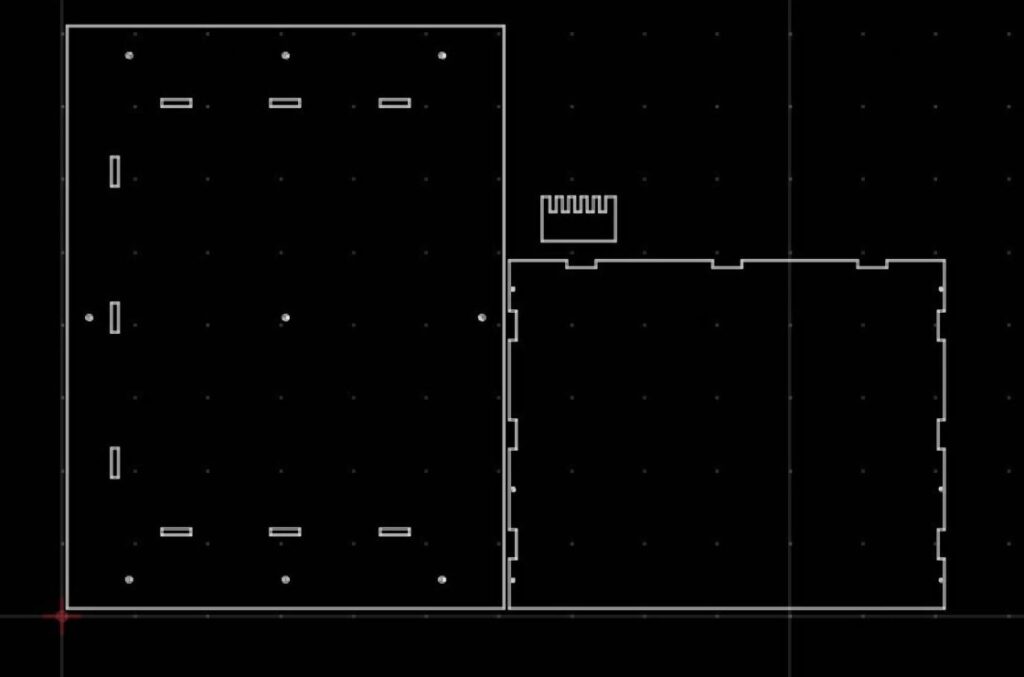
This one was clean. The panel outlines matched the design, which honestly surprised me.
One sheet of plywood, no spare
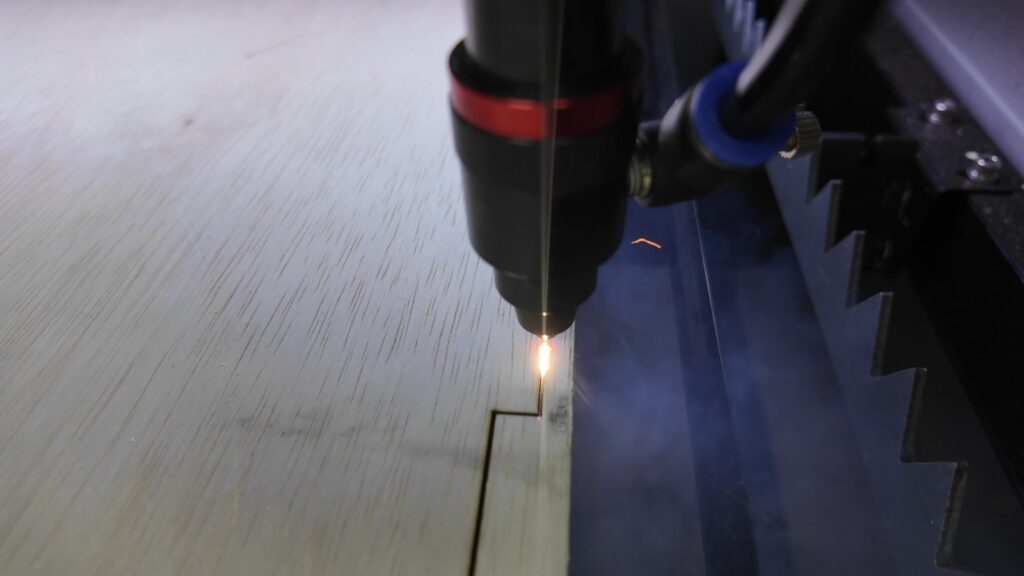
I had exactly one sheet of 9 mm plywood, with the panels nested tightly. One ruined panel and I’d miss the pickup. So before risking the sheet, I set the focus height, positioned the job, chose starting settings, made a test cut, and framed the full panel. I used the CO2 side of the M3 Ultra for this.
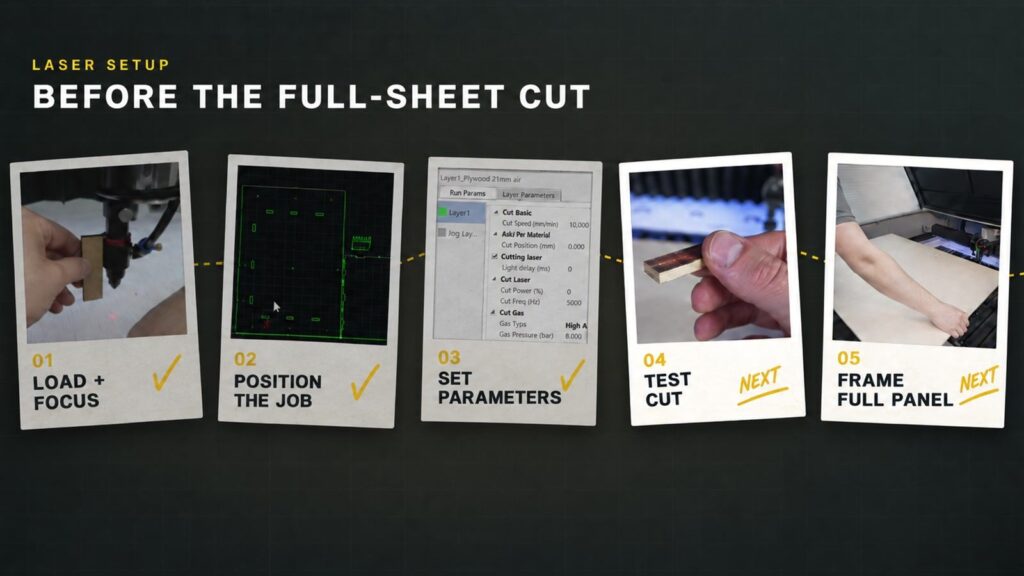
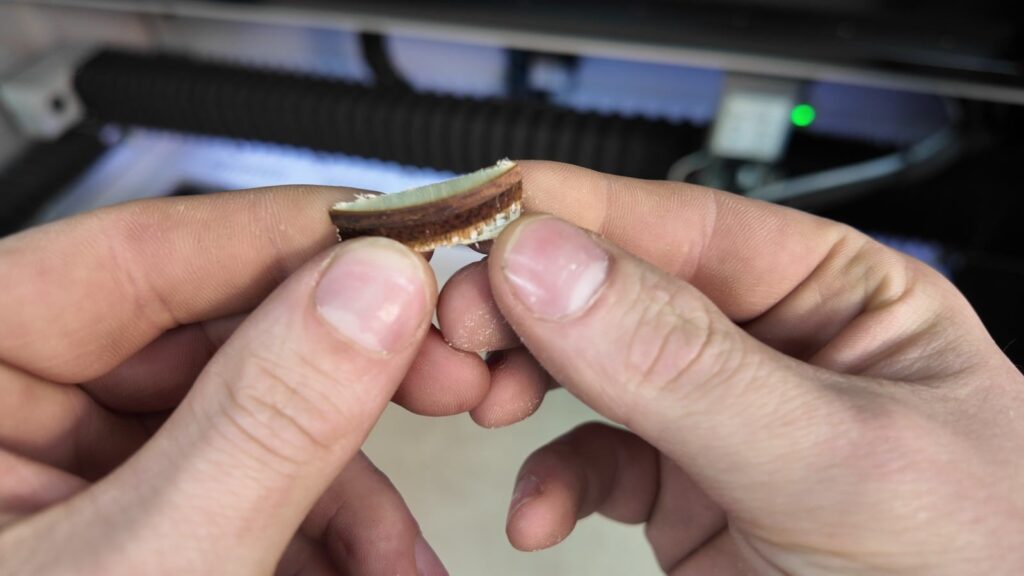
The test cut was a 20 mm circle. The first attempt didn’t go through. The second was still a few millimetres short. One more step slower gave a clean cut with brown edges instead of charred black ones, and that became my 9 mm preset.
The laser head crash
Then framing the full job exposed a completely different problem. Plywood is never perfectly flat, and the laser head hit the sheet. Pickup in the morning, and I was fixing the laser instead of cutting the crate.
On the M3 Ultra the fix is quick once you know it: lower the bed, loosen the two screws so the head drops back into position, tighten them again, reconnect the air line and reset the focus height with the spacer. Then a fresh test cut in the real material before trusting it with a full panel.
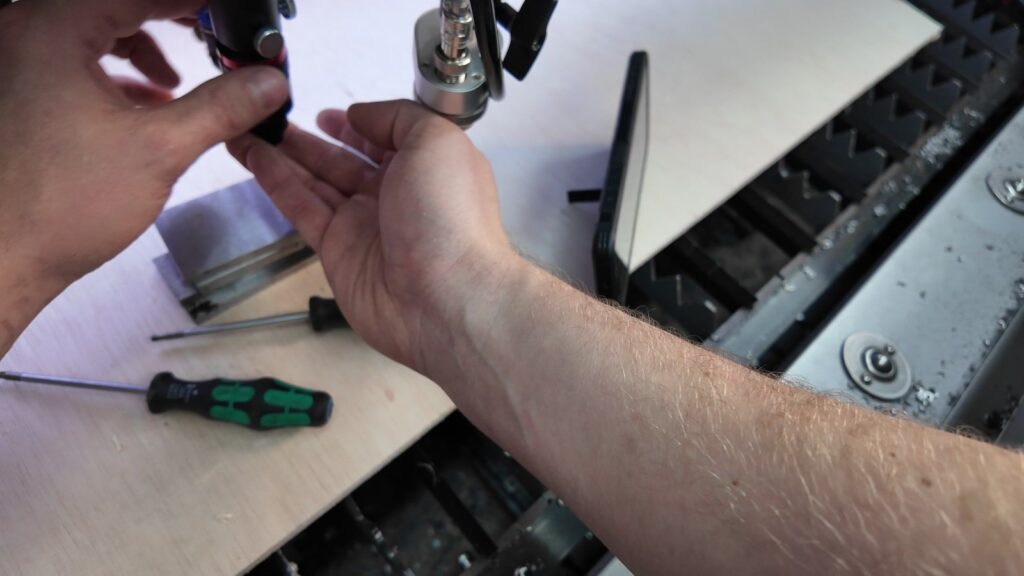
With the head straight again, the first full panel cut cleanly and the finger joints fit.
Engraving and assembly
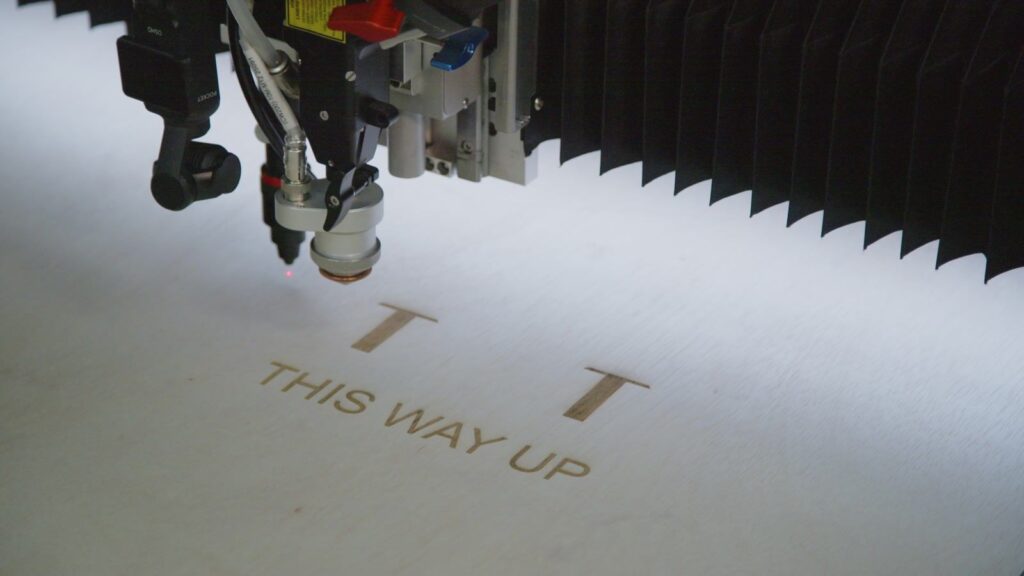
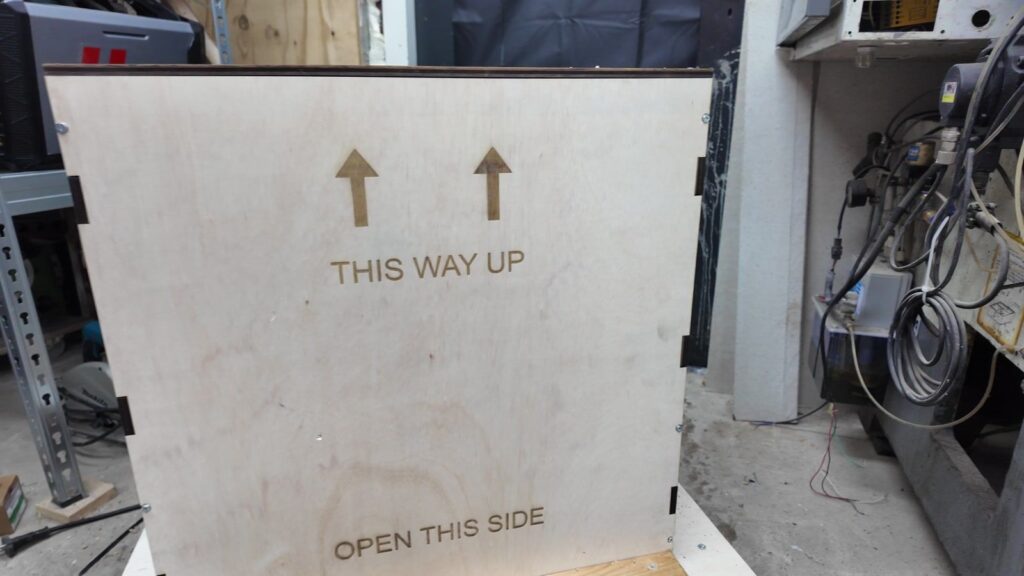
The shipping markings, THIS WAY UP and OPEN THIS SIDE, are engraved before each panel is cut out. That way I could change the settings and run it again without repositioning the part. I had never engraved wood before, so the first panel was a cautious, slow pass. The next ones ran at twice the speed with a little more power.
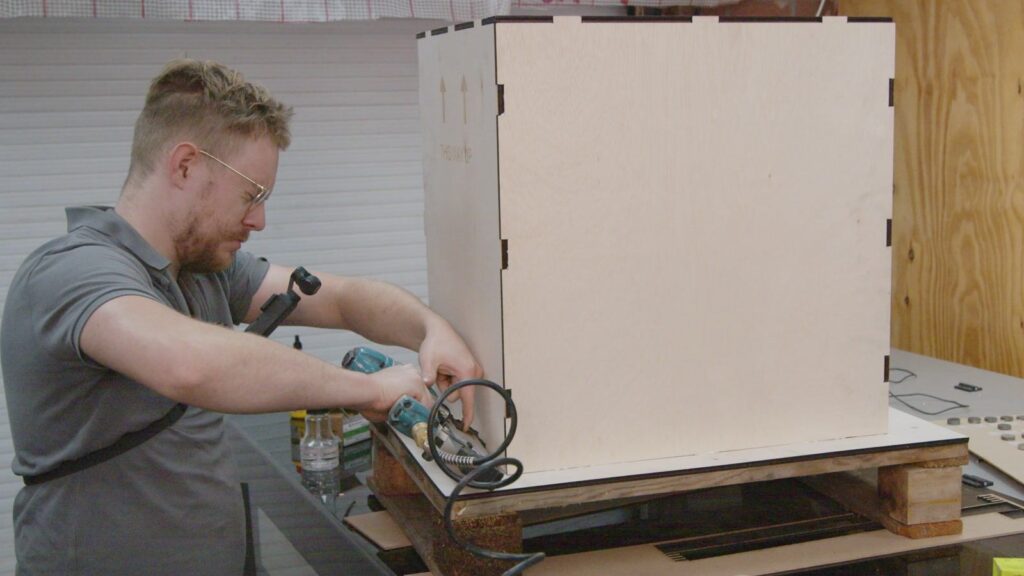
The finger joints fit well. I glued the bottom and shot nails into the rest, which is a lot quicker than clamping a whole crate.
Where the AI missed
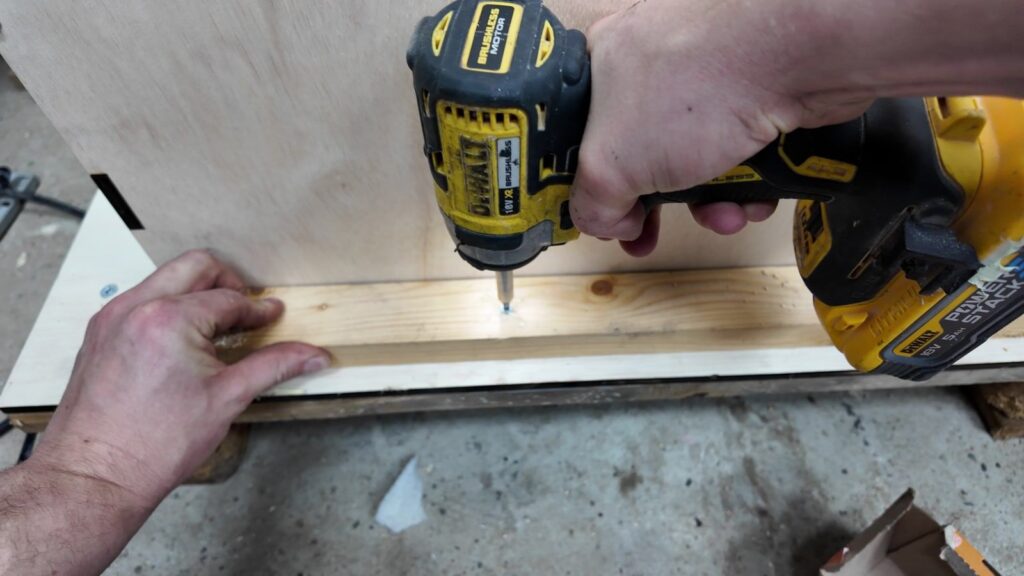
One thing stood out during assembly. The AI hadn’t put a hole in the spot I’d call the most logical place for some extra stability. So I cut a random stick of wood to size and screwed it in to stop the chiller moving around.
The verdict: useful, or mechanical slop?
The buyer confirmed the chiller arrived without any damage and complimented the packaging. That’s the result I wanted.
So, slop? No. It’s a useful starting point. It needed a tighter brief, one extra brace, and a check of the files before cutting. Would I do it again? Yes, because I ship bigger things quite often.
For one box, it hardly saves time. For the ten I need to ship, definitely yes. Next time I’ll ask it to make the design parametric, so I only fill in new dimensions and cut.
A year ago I couldn’t get something like this out of an AI without a lot of fiddling. This time it was good enough to build from.
What I’d do differently
- Give the full brief up front. Real dimensions, plywood only, simple construction. Adding requests one at a time is how I ended up with a timber frame.
- Tell it where the load goes. The AI missed the obvious spot for an extra brace. Next time I’d point out where the chiller needs support, instead of screwing in a stick afterwards.
- Ask for a parametric design from the start. Then the next crate is just new dimensions in and cut files out.
- Thicker bracing and a bit more clearance. The 9 mm panels held up fine, but the internal wood could have been thicker, and a little more room around the chiller would have made packing easier.
- Check before you commit the sheet. Look at the files, make a test cut, frame the job. With one sheet and no spare, that routine is what saved the build.
- Label what’s inside. A chiller has refrigerant in it. A sticker saying so would have been the proper finishing touch.
For a one-off crate, would you bother with laser-cut finger joints, or just screw plywood onto a timber frame? I’m curious where you would draw the line.
Watch the complete build and shipping verdict →
Put the GWEIKE M3 to work in your workshop
Save up to €1,300 / $1,300 with The Yield Point community offer. Buying an M3 Pro or Ultra? Get €950 / $950 off the machine, or €1,300 / $1,300 off a machine + compressor bundle.
Choose your EU or US offer to open the official GWEIKE cart with the coupon already applied. Check the current cart total before ordering. These are affiliate offers: I may earn a commission if you buy through my links.
For more workshop context, read the five upgrades that changed what I can build.
More workshop builds: Subscribe to The Yield Point on YouTube